


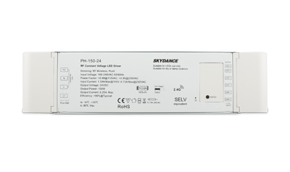


Power, installation and power supply problems
To ensure uniform, efficient, and long-lasting LED lighting, the correct choice and installation of the power supply are fundamental. This in-depth guide covers everything: from calculating the power to diagnosing the most common problems.
LED driver power: how to calculate it?
Correctly sizing the driver's power is the first step for a reliable LED system. An undersized power supply causes flickering and premature failures, while an oversized one leads to wasted energy and money.
The sizing formula: a foolproof 4-step procedure
There are 4 steps you must absolutely follow to correctly calculate the power needed to drive LED strips.
Step 1: calculate the total load power (P_tot)
Determining the exact consumption of all LED components in the system is essential to correctly size the power.
Basic formula for LED strips:
P_tot (W) = power per meter (W/m) × total length (m)
For single LED modules:
P_tot (W) = power per module (W) × number of modules
Practical example - kitchen lighting:
- 4 meters of under-cabinet LED strip: 14.4 W/m
- 2 meters of inside-hood LED strip: 9.6 W/m
- 1 over-counter linear module: 25 W
Calculation: (4m × 14.4W/m) + (2m × 9.6W/m) + 25W = 57.6W + 19.2W + 25W = 101.8 total watts
Step 2: apply the safety margin (20-30%)
A power supply working at 100% of its rated power will overheat, drastically reducing its lifespan and increasing the risk of failure.
Formula: P_minimum_driver = P_tot × 1.25 (or 1.30)
Continuing the example: 101.8W × 1.25 = 127.25 minimum watts required
Step 3: choose the commercial value and the correct voltage
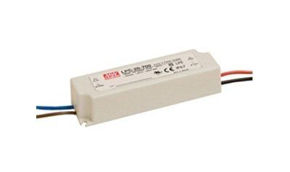
Among standard commercial values (30W, 50W, 75W, 100W, 150W, 200W, 300W), select the one immediately higher than the calculated power.
In our example: choose a 150W power supply
Attention to voltage: ensure the output voltage (12V or 24V) exactly matches that of all connected strips and modules. For projects with mixed voltages, separate power supplies will be needed.
Step 4: consider distance and voltage drop
For distances greater than 3-4 meters between the power supply and the first LED point, voltage drop becomes significant, especially at 12V, and may require a higher rated power.
Solutions:
- Use a 24V system (for the same power, it carries half the current, halving voltage drop)
- Increase cable cross-section (e.g., 1.5 mm² or 2.5 mm² instead of 0.75 mm²)
- Position the power supply closer to the load
- Use multiple distributed power supplies along the run
LED power supply configurator
Calculate the power needed for your lighting project LED strip voltage (V)
Power per meter (W/m)
Total length to be covered (m)
Note: for greater safety, we recommend choosing a power supply with a power 20% higher than the calculated value, to avoid overloads and ensure a long product life.
|
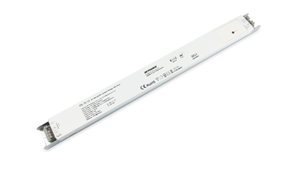
Professional installation: placement, ventilation, connections
Placement and ventilation
Heat reduces power supply efficiency and lifespan by 50% for every 10°C above the rated temperature, also compromising its effective power.
Essential guidelines
- Never install in enclosed, airtight, or unventilated spaces
- Leave at least 5-10 cm of free space around the power supply
- For installations in false ceilings or furniture, ensure passive air circulation
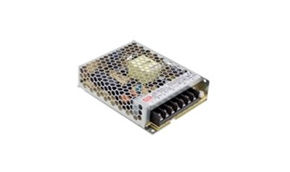
- For high-power power supplies (>100W), install on a metal surface that acts as an additional heat sink
- Avoid direct exposure to heat sources or sunlight
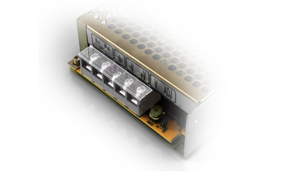
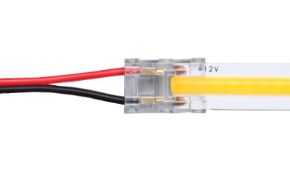
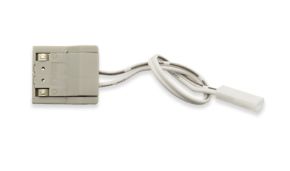
Safe electrical connections
During installation, it's also important to pay attention to safety. Let's see how.
230V AC side (input)
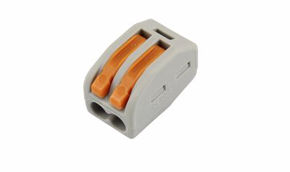
- Use quality screw terminals or crimp connectors (e.g., Wago)
- Mains cable cross-section: minimum 0.75 mm² (1 mm² recommended for >100W power)
- Mandatory color code:
- Brown or black: Live (Phase)
- Blue: Neutral
- Yellow/Green: Earth (Ground)
- The earth connection is essential for safety, especially with high-power drivers
12V/24V DC side (output):
- For high currents: prefer soldering or screw terminals over push connectors
- Recommended cable cross-section based on current and power:
Current Min. cross-section Recommended cross-section Up to 5A 0.75 mm² 0.75 mm² 5-10A 1.0 mm² 1.5 mm² 10-15A 1.5 mm² 2.5 mm² - Always respect polarity (+ and -). Reversing it instantly damages the LEDs
Input protection (optional but recommended)
Protect your investment from voltage spikes:
- modular surge protection device (SPD) in the electrical panel
- Ppug-and-play surge protector between the outlet and the power supply
- Uuninterruptible Power Supply (UPS) for critical applications, especially with high-power drivers
Diagnostics and troubleshooting common problems
Despite correct power supply selection and power calculation, some problems can still arise. Let's see which ones.
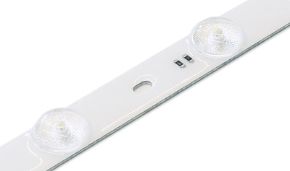
Problem: LED strip flickers
Causes and aolutions
- Undersized power supply: replace with a model of adequate power
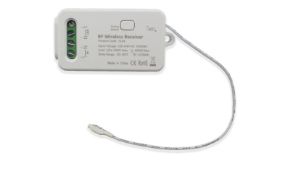
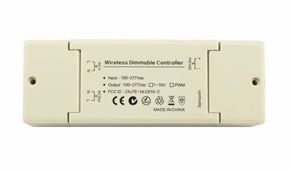
- Dimming incompatibility: verify driver-dimmer compatibility. For LEDs: "trailing edge" or "LED TRIAC" dimmers
- Poor electrical contact: inspect and remake all connections, check solder joints
- Low-quality power supply: replace with a certified brand driver (CE, RoHS, IP rating)
Problem: power supply shuts off by itself (thermal shutdown)
Probable cause: overload or insufficient ventilation. The power supply reaches critical temperature (usually 70-90°C) and shuts off automatically.
Solutions:
- verify that load power ≤ 80% of the driver's rated power
- improve ventilation (install fans if necessary)
- reduce ambient temperature
- if the problem persists: faulty power supply
Problem: noise (hum or whistle)
Noise can also be considered a problem, even though it does not affect the correct operation of the LED strip, nor the safety related to the power supply.
50Hz hum (low):
- Coming from the transformer in old-generation magnetic power supplies
- Solution: replace with a modern switching power supply, which handles power better with less vibration
High-pitched whistle (high frequency):
- Coming from magnetic components (coils) in switching power supplies
- Solution: choose power supplies from reputable brands with quality components and potting techniques
Problem: lights not reaching maximum brightness
If the lights are not uniformly illuminated or do not reach the desired brightness, there can be various solutions. Let's discover how to solve this problem.
Main cause: excessive voltage drop on the power cables, which reduces the effective power available for the LEDs.
Diagnostics
- Measure voltage at the power supply output (should be 12V/24V ±5%)
- Measure voltage at the far end of the LED strip
- If the difference > 0.5V (for 12V) or > 1V (for 24V): voltage drop problem
Solutions
- Increase the cross-section of connecting cables
- Switch to a 24V system (better power management over long distances)
- Power the strip from both ends
- Move the power supply closer to the load
- Install supplementary power supplies along the run
Preventive maintenance and periodic checks
To ensure system longevity and maintain rated power:
- Every 6 months: clean fans and ventilation grilles;
- Annually: check the tightness of all terminals;
- Check operating temperature (ideal: 40-60°C);
- Monitor performance: output voltage and absence of noise.
Suggestions
We suggest paying attention to some characteristics that power supplies should have depending on the environments where they are installed:
- Residential interiors: compact, quiet drivers, with dimmable control if needed;
- Commercial/Retail: 24V drivers to reduce voltage drops over long distances;
- Outdoor: IP67-rated drivers with passive cooling (no fans);
- Architectural: drivers with DALI or DMX control for integration into building automation systems.
Power and installation: the pillars of power supply
The power supply is not a simple accessory, but the critical component that determines the stability, efficiency, and lifespan of the entire LED system. Correct power selection, professional installation, and choosing quality products represent an investment that pays off over time with:
- optimized energy savings (up to 30% compared to inadequate choices)
- extended system lifespan (50,000+ hours without performance degradation)
- guaranteed safety for people and property
- constant, flicker-free light quality
Whether it's residential lighting or a complex architectural project, dedicating attention to the choice of power and the characteristics of the power supply means building the success of your lighting project on solid foundations.