


Why is my LED strip flashing? The definitive technical guide to professional diagnosis and repair.
Why is my LED strip flickering? We frequently encounter this question, which is why we aim to address the topic today in a detailed and exhaustive manner. The phenomenon of flickering (or flicker) in LED strips is one of the most common and frustrating issues in solid-state lighting, with implications ranging from visual discomfort to premature component degradation. Based on technical data, industry statistics, and multiple case studies analyzed by the Ledpoint team, this article delivers a comprehensive diagnostic overview and actionable solutions to resolve the issue definitively.
Through a layered analysis of root causes—from power supply to thermal management, from control systems to installation practices—we provide an essential resource for professionals, installers, and enthusiasts seeking not only an immediate fix but also a deep understanding of the underlying malfunction.
Why does the LED strip flicker? Introduction to the flickering phenomenon: more than an annoyance—It’s a symptom
Before diving into diagnostics, it’s critical to understand the nature of flickering. Unlike incandescent lamps, LEDs are semiconductor devices requiring stable, precise direct current (DC) at a constant voltage. Any deviation, instability, or interference in this power flow immediately manifests as brightness fluctuation, perceived by the human eye as flickering, flashing, or shimmering. Severity varies widely: from high-frequency ripple (above 100Hz) to intermittent low-frequency blinking. Consequences span visual fatigue and headaches to a drastic reduction in LED lifespan (up to 70%, per several studies), and even complete failure of drivers or controllers.
Systematic diagnosis – Ledpoint’s 5-step protocol
A methodical approach is essential to isolate the true cause among numerous possibilities. Following this step-by-step protocol prevents unnecessary interventions and costly replacements of fully functional components.
Step 1: visual Inspection and operational context
Before taking measurements, document the operational context. When does flickering begin? At power-on? During steady operation? When other appliances activate? Visually inspect the entire strip length, connectors, and power supply. Look for oxidation points, crushed cables, or cold solder joints (dull grayish, non-shiny surfaces). Confirm total installed power does not exceed the power supply’s rated capacity. A key statistic: approximately 30% of reported flickering cases stem from simple system overload or loose connections.
Table 1.1: observed symptoms and related suspected causes
| OBSERVED SYMPTOM | SUSPECTED PRIMARY CAUSE | IMMEDIATE DIAGNOSTIC ACTION |
|---|---|---|
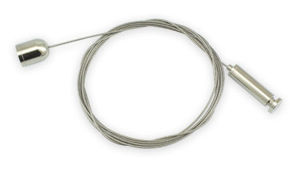
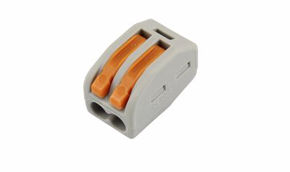
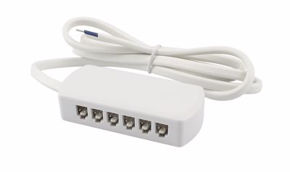
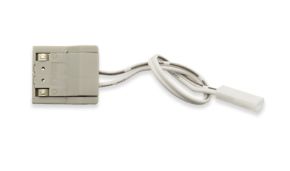
| Random, irregular flashing | Oxidized or loose connector | Inspect and tighten/replace clip connectors |
| Uniform flickering across entire strip | Undersized or faulty power supply | Measure no-load and under-load voltage at strip terminals |
| Flashing limited to a specific segment | Strip circuit damage (improper cut, broken trace) | Examine cut points and copper traces with magnifying lens |
| Flickering only when other appliances turn on | Mains voltage drop or induced interference | Connect system to a dedicated circuit or use a power supply with active PFC |
| High-frequency shimmering (visible via smartphone camera) | Poor-quality PWM modulation or dimmer incompatibility | Test strip with a known-compatible controller/dimmer |
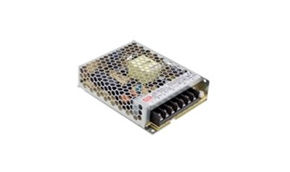
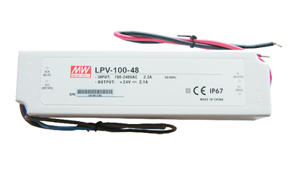
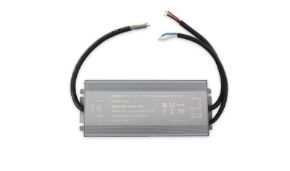
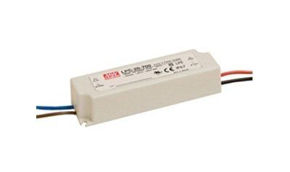
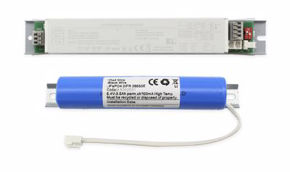
Step 2: power supply analysis – The heart of the problem
Over 40% of flickering issues originate from the power supply (driver or transformer). Low-cost switching power supplies often exhibit excessive ripple current (residual output current variation) or inadequate load regulation. Use a digital multimeter to measure DC voltage at the power supply output terminals with the strip connected and powered (under load). A value significantly below nominal (e.g., 10.5V instead of 12V) indicates an undersized unit. Engineering best practice: oversize the power supply by 20–30% relative to total strip consumption to ensure cool operation and longevity.
Key technical data: power supply quality matters
A study of 500 LED power supplies across price tiers revealed:
- 45% of budget units (cost factor < €0.5/W) showed ripple voltage exceeding 10%—the threshold where flickering becomes likely;
- load regulation stability was insufficient in 60% of cases, with voltage drops >1V when load shifted from 50% to 100%;
- high-quality units (>€0.8/W) averaged 92% efficiency versus 82% for budget models, yielding lower thermal dissipation and higher reliability.
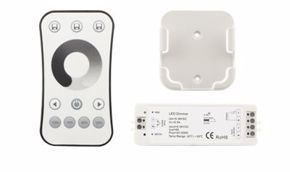
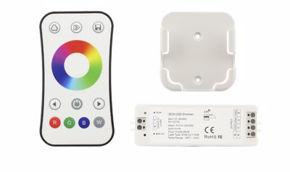
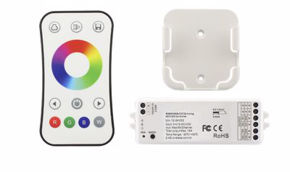
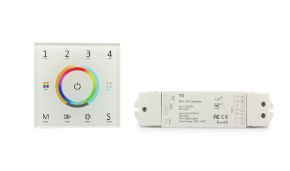
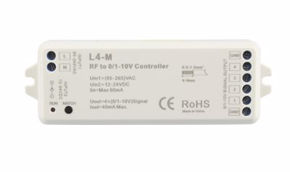
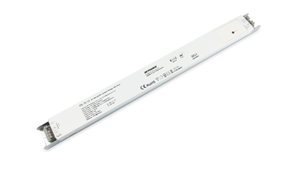
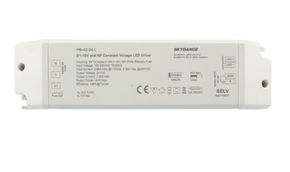
Step 3: control system and dimming verification
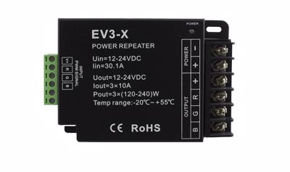
Dimming is another frequent culprit. Low-cost LED dimmers often use phase-cut techniques (Leading Edge or Trailing Edge) not optimized for the capacitive loads of switching power supplies. Incompatibility among dimmer, power supply, and LED load causes flickering, buzzing, or partial illumination. Verify component compatibility. For RGB/RGBW systems, the controller itself may be faulty or unable to handle combined channel current. In complex setups, a signal amplifier is often essential to regenerate the control signal and prevent degradation/flickering over long distances.
Step 4: thermal Assessment and component degradation
LEDs—and especially power supply electronics—are heat-sensitive. Continuous operation above 60°C exponentially reduces the lifespan of electrolytic capacitors in power supplies, increasing ESR (Equivalent Series Resistance) and diminishing filtering capacity. This elevates ripple and triggers flickering. Inspect the installation environment: Is the strip enclosed in a non-ventilated profile? Is the power supply buried in thermal insulation? An infrared thermometer or thermal camera can identify critical hotspots. Per the Arrhenius law, every 10°C rise in operating temperature doubles the failure rate of electronic components.
Step 5: isolation testing and component-by-component replacement
If prior steps fail to isolate the issue, proceed with replacement testing. Replace components one at a time with known-functional units, following a logical sequence: start with the power supply, then the controller, then test strip segments. Though empirical, this method is foolproof for pinpointing faults in complex systems.
Technical causes and solutions
We now examine each root cause in technical detail, providing not only theoretical explanations for why the LED strip flickers but also practical, implementable solutions.
Primary electrical causes: power supply and wiring
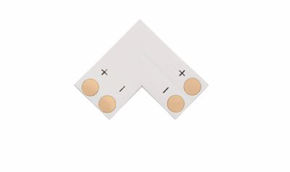
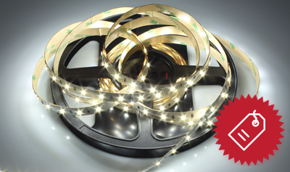
Voltage drop: The #1 enemy of long installations. In strips exceeding 5 meters, resistance in the strip’s internal conductors and connection cables causes progressive voltage loss. The final segment receives insufficient voltage, resulting in flickering or— in RGB cases—color shift. The solution is not increasing input voltage, but powering the strip from both ends (dual-end feeding) or at intermediate points. For very long runs, use adequately sized power cables (minimum 1.5mm² for >10m at 12V).
Table 2.1: recommended cable gauge by length and current
| Total cable length (m) | Total current (A) | System voltage | Min. copper cable gauge (mm²) | Estimated voltage drop (%) |
|---|---|---|---|---|
| 5 | 8 | 12V DC | 1.0 | ~4% |
| 10 | 8 | 12V DC | 1.5 | ~5% |
| 15 | 8 | 12V DC | 2.5 | ~4% |
| 10 | 5 | 24V DC | 0.75 | ~2% |
Note: at 24V, percentage voltage drop is halved for equivalent power, making 24V systems superior for extended installations.
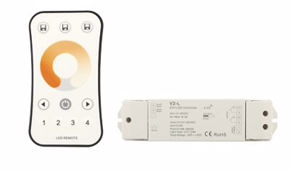
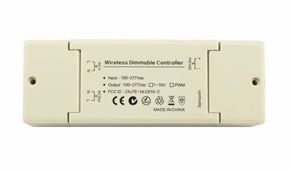
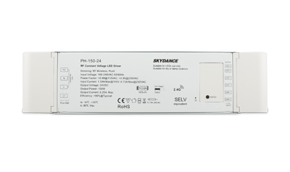
Control-related causes: dimmers, PWM, and protocols
Pulse Width Modulation (PWM) is the standard method for adjusting LED brightness. However, PWM frequency below 100–120Hz becomes perceptible to the human eye as flicker. Budget controllers operate at 50–100Hz; quality units exceed 500Hz–1kHz. An oscilloscope provides definitive PWM signal diagnosis. As a quick field test, point a smartphone camera at the strip: visible moving lines or patterns indicate low PWM frequency. Solution: replace the controller with a high-frequency model. For wall dimmers, ensure they are "ELV" (Electronic Low Voltage) type, compatible with capacitive loads, and strictly follow the manufacturer’s minimum/maximum load specifications.
Mechanical and installation causes
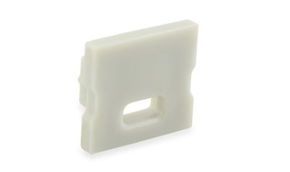
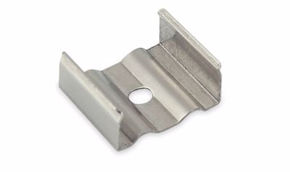
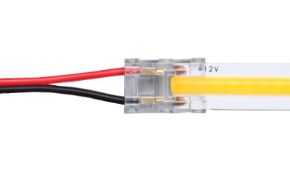
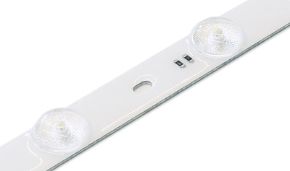
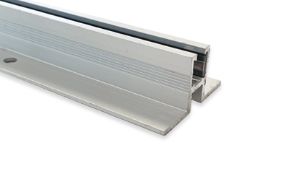
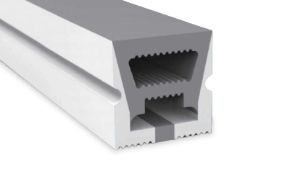
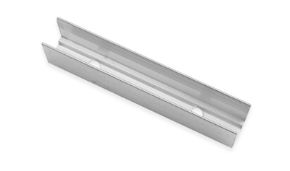
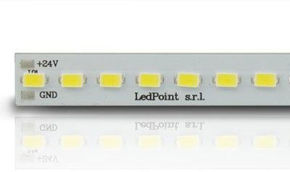
LED strips are flexible printed circuits (FPCs). Excessive bending, cuts not made at designated marks, or conductive adhesives can damage microscopic copper traces. Partial damage creates high-resistance points that intermittently lose contact when heated, causing flickering. Installation on uninsulated metal surfaces may cause micro-short circuits or capacitive interference. Always use anodized aluminum profiles (which provide electrical isolation) and cut strictly along scissor-marked lines on the strip.
Environmental and external causes
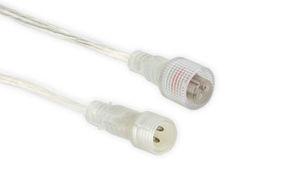
Moisture is the silent killer of inadequately protected strips (IP20, IP33). Humidity infiltration oxidizes contacts and creates leakage paths. Additionally, electromagnetic interference (EMI) from motors, inverters, or radio transmitters can couple onto unshielded power or signal cables. In industrial settings, EMI-certified power supplies and shielded cabling are mandatory. Mains voltage fluctuations (brownouts) may drop supply voltage below operational thresholds, causing intermittent resets and flickering.
Real-world case studies and failure mode analysis
Below are three real cases analyzed in our lab where LED strips exhibited flickering, illustrating complex failure modes and their resolutions.
Case study 1: restaurant flickering after 6 months
Symptom
12V system, 25m total length, powered by a single 300W supply. After 6 months of 12-hour daily operation, generalized flickering emerged, worsening during evening peak hours.
Diagnosis
Voltage measured: 11.8V at strip start, 9.2V at end. Thermal inspection: power supply at 85°C (installed in unventilated ceiling void).
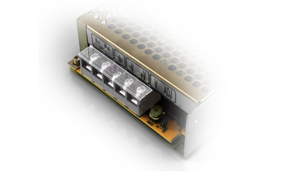
Component analysis
Opened supply revealed swollen electrolytic capacitors with 60% reduced capacitance.
Cause
Near-maximum load (280W on 300W unit) + critical voltage drop + thermally accelerated capacitor degradation.
Solution implemented
Replaced with 480W power supply (60% overhead), relocated to ventilated area. Implemented dual-end feeding on two 12.5m branches. Post-fix: stable 12.1V ±0.2V across entire length. Zero flickering at 24-month follow-up.
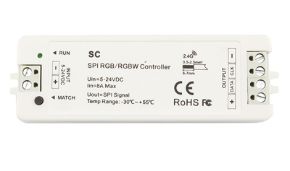
Case study 2: random flickering in smart RGB installation
Symptom
24V RGB strip controlled via Wi-Fi flickered randomly on certain segments, especially when the air conditioner activated.
Diagnosis
Oscilloscope on data signal cable (between controller and first segment) showed voltage spikes up to 8V (digital protocol operates at 5V). Power and signal cables ran parallel for 8m without separation.
Cause
Electromagnetic interference from the AC compressor induced noise on the unshielded signal cable. Noise corrupted digital data, triggering erratic commands and flickering.
Solution
Replaced signal cables with shielded twisted pair (STP). Maintained minimum 20cm physical separation between power and signal cables. Installed ferrite chokes near the controller. Issue fully resolved.
LED strip flickering: prevention is better than cure
LED strip flickering is a solvable issue with rigorous technical methodology. Investing in quality components (power supplies, controllers, 24V strips for long runs), designing installations with voltage drop and thermal management in mind, and performing systematic diagnostics are the keys to stable, long-lasting illumination.
This article reflects Ledpoint.it’s hands-on field and laboratory expertise. For specific technical assistance, our team is available via the support channels on our website.