


LED-illuminated wall mirrors: how to make them?
Wall-mounted mirror: imagine waking up every morning and finding yourself in every room in front of perfect light, that envelops you like a hug, that enhances every detail of your face without creating annoying shadows, that transforms the simple act of getting ready for the day into a moment of pure pleasure. This is not science fiction. It's the magic of a custom-made illuminated mirror. In this article, we will reveal every secret, every technical detail, every trick of the trade to create with your own hands or have made the illuminated mirror of your dreams. It's not just about adding light to a mirror. It's about completely reinventing your space, adding value to your home, giving yourself a daily experience that will make you feel like you're in a five-star hotel every single day. Forget old makeup lamps that dazzle and heat up. LED lighting for wall-mounted mirrors is the present, and it's incredibly accessible. Get ready to discover a world of possibilities that will forever change the way you see yourself and your home.
Wall-mounted mirrors: why light them up?
Before diving into the "how", it is essential to understand the "why". Why are thousands of people replacing traditional bathroom lamps or dim lights with wall-mounted mirrors featuring integrated LED lighting? The answer is not a single one, but a set of tangible, measurable, and immediately perceptible advantages that elevate your home from a simple dwelling to a place of well-being. Let's analyze point by point, with data in hand, what makes this solution not only desirable but almost mandatory for those who want the best.
The revolution of light quality: CRI, temperature, and uniformity
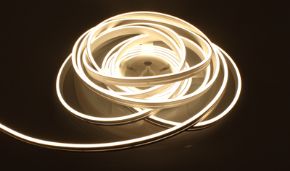
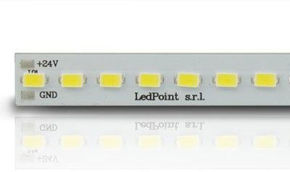
Traditional lighting often betrays. It distorts colors, creates shadows under the eyes and chin, making it difficult to apply makeup or shave with precision. High-quality LED strips, such as the COB LED strips available at Ledpoint, offer a Color Rendering Index (CRI) above 90Ra. What does this mean in practice? It means that the emitted light reveals true colors, exactly as under natural midday sun. No more foundation that looks perfect in the bathroom but turns out completely wrong outdoors. But the magic doesn't end here.
Comparison table: traditional light vs LED for mirrors
| Feature | Incandescent/Halogen Bulbs | LED Strips for Mirrors (e.g., COB) | LED Advantage |
|---|---|---|---|
| Color Rendering (CRI) | ~100 Ra (good) but very warm light | >90 Ra (excellent, balanced light) | + Color accuracy, ideal for makeup |
| Energy Consumption (per 2 linear meters) | Approx. 120W | Approx. 24W (at full power) | -80% consumption, immediate savings |
| Heat Emission | Very high (risk of burns, uncomfortable) | Almost none (pleasant to the touch) | Total safety and comfort |
| Average Lifespan (hours) | 1,000 - 2,000 hours | 30,000 - 50,000 hours | Up to 25 years of use (at 5h/day) |
| Light Uniformity | Distinct light points, evident shadows | Continuous, perfect line of light | Enveloping and professional lighting |
The data speaks clearly. Switching to LED lighting for your wall mirror is not a marginal improvement. It's a quantum leap in terms of efficiency, quality, and lifespan. Think about the savings on your bill: with an average use of 3 hours per day, a traditional 120W solution consumes 131.4 kWh per year. Our 24W LED solution consumes only 26.3 kWh. At a cost of €0.28/kWh, you save over €29 every single year. And that's just for the mirror. In two years, the installation has practically paid for itself.
Aesthetics and design: your signature on every wall
Beyond pure functionality, a wall-mounted mirror with LED lighting is a work of art. It eliminates the visual clutter of lamps, wires, and switches. It creates clean, modern, minimalist lines that adapt to any style: from industrial chic to contemporary classic. The light itself becomes a furnishing element. With aluminum LED profiles, you can create ultra-thin light frames (as thin as 8mm) that seem to float on the wall. It's a guaranteed "wow" effect for both you and your guests.
Designing wall-mounted mirrors: creating a plan before purchasing
The key to a flawless result is meticulous planning. You cannot and must not improvise. This chapter will guide you through every critical decision, from measurements to color temperature choice, with concrete examples and precise calculations. Follow these steps and transform your vision into an executive project ready to be realized.
Measurements and positioning: the importance of precision
Where to place wall-mounted mirrors? At what height? What size should it be? These are not matters of taste, but of ergonomics and proportion. Let's start with height. The ideal height for the bottom edge of a bathroom mirror is between 100 and 120 cm from the finished floor. Why? Because it places the center of the mirror at eye level for a person of average height, ensuring comfortable and natural vision without having to bend or stand on tiptoes. For bedroom or entrance hall mirrors, you can lower it to 90-100 cm for a more decorative effect.
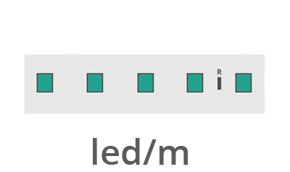
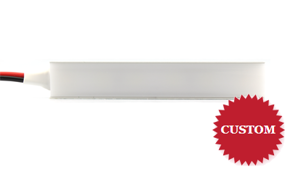
For dimensions, the golden rule is: the mirror should be at least as wide as the furniture below it (if present) and preferably no narrower than 60 cm to be functional for one person. For a double sink, consider a width of 120-150 cm. To calculate the amount of light needed, luminous flux comes into play, measured in lumens. For "professional makeup" lighting on a mirror, at least 1000 lumens per linear meter of LED strip are needed. A 14.4W/m COB LED strip like those from Ledpoint delivers about 1200-1400 lm/m, perfect for the purpose.
Choosing LEDs: strips, profiles, and the quest for invisibility
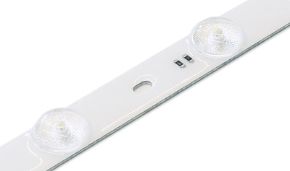
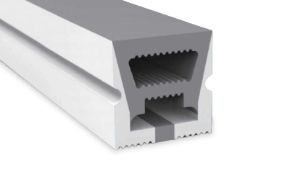
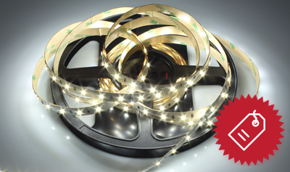
The heart of the project. Not all LED strips are the same, and for a wall mirror, the needs are specific: maximum brightness, excellent color rendering, and above all, total absence of distinct light points (the "dotted" effect). For this, COB (Chip On Board) technology is the undisputed queen. The micro-diodes are so dense and covered by a uniform layer of phosphor that the emitted light is a continuous and homogeneous line, without any dark spots. It's the absolute ideal.
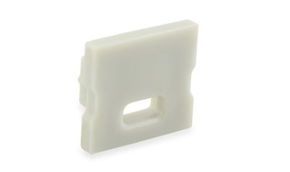
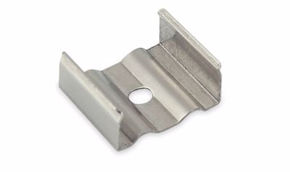
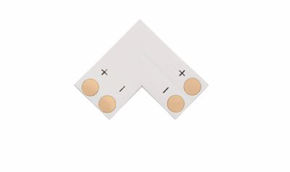
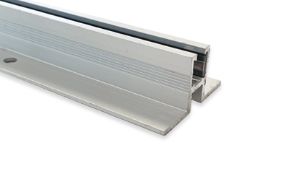
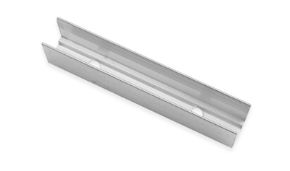
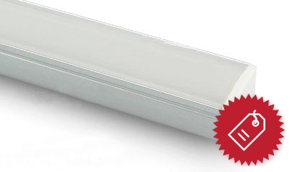
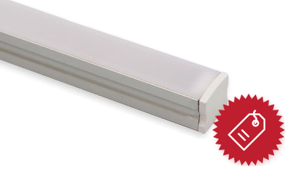
But the strip alone is not enough. For a professional and long-lasting result, you need to house it in an aluminum profile. This component has three vital functions: 1) It dissipates heat (minimal in LEDs, but present), extending the strip's life by 50%. 2) It provides a rigid and straight structure for a perfect light line. 3) It offers a opal or crystal diffuser that further softens the light, eliminates any imperfection, and protects the LEDs from dust and humidity (essential in bathrooms). Choose profiles with an IP65 or higher protection rating for humid environments. On Ledpoint you'll find a wide range of corner profiles and recessed profiles, perfect for creating light frames.
Typical Configuration for a 100cm Wide Mirror
- Mirror: clear tempered glass, 100x80 cm, without drilled edge.
- LED Strip: 4 linear meters of 24V COB LED Strip, 14.4W/m, CRI>90, 4000K (natural).
- Profiles: 4 meters of aluminum corner profile with opal diffuser, cut to size.
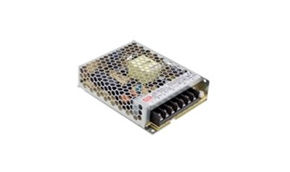
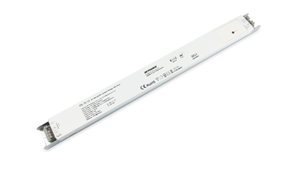
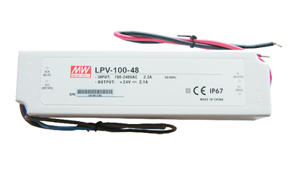
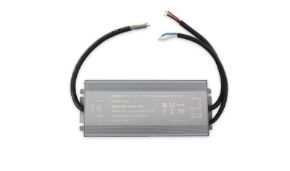
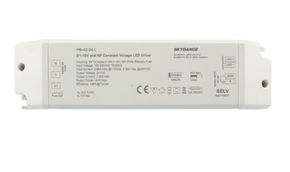
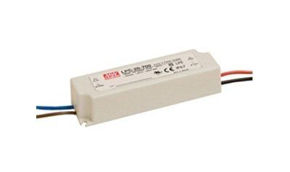
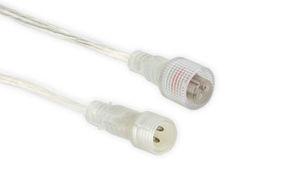
- Power Supply: 1 x 24V 75W LED Power Supply (with at least 20% more power than the total consumption of 57.6W).
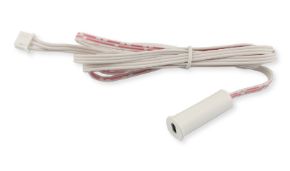
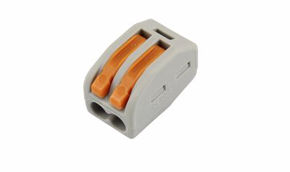
- Accessories: Connectors, soldering iron, 18AWG silicone cables.
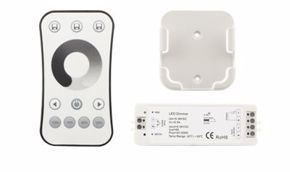
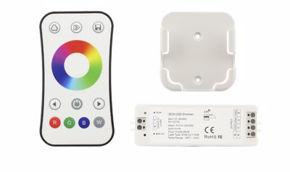
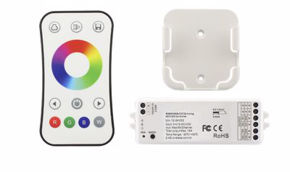
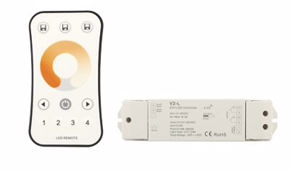
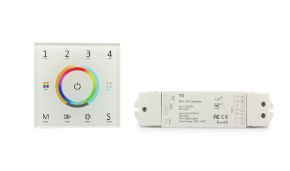
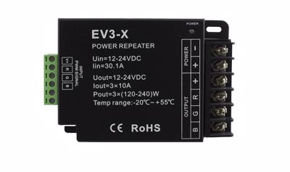
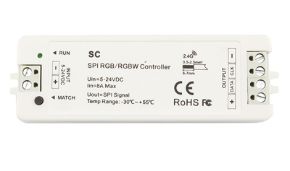
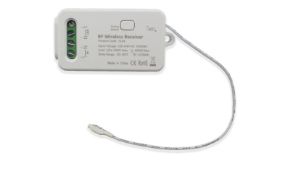
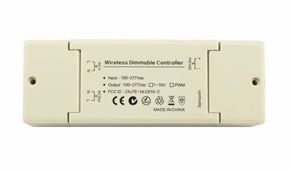
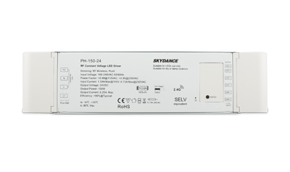
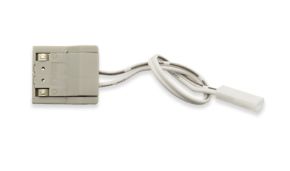
- Controller: 1 x WiFi Controller for on/off and dimming via smartphone.
Step-by-step installation: the practical guide for making the mirror.
Now that you have all the components, it's time to get your hands dirty. Don't be afraid. With a little patience and attention, you can achieve a professional result. We'll follow a logical and safe process, dividing the installation into clear, manageable phases.
Phase 1: wall preparation and LED mounting
Start with the power off, by switching off the main breaker. The first operation is to mount the aluminum profiles that will contain the LED strips. Decide on the layout: light only on the sides? Only on top? A full frame on all four sides? For uniform, shadow-free lighting, the full-frame configuration is unbeatable. Use a laser level to trace a perfect rectangle on the wall, corresponding to the back perimeter of your mirror (the mirror will rest on top of the profiles). Fix the profiles to the wall using screws and plugs suitable for the material (drywall, brick, concrete). Make sure they are perfectly aligned and the corners are at 90 degrees.
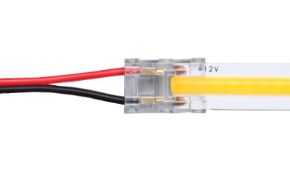
Now, apply the LED strip inside the profiles. Most have 3M adhesive tape on the back. Thoroughly clean the profile surface with isopropyl alcohol before removing the adhesive backing. Place the strip gently, pressing well along its entire length. Pay attention to electrical connections at corners: plan them in accessible points. Use clip connectors or, for a permanent and reliable connection, solder connecting wires to the strip's pads using quality solder.
Phase 2: electrical connection and hidden power supply
This is the most delicate phase. Connect all LED strips in parallel to the power supply. NEVER connect more than 5 meters of LED strip in series on a single line, otherwise the LEDs farthest from the power supply will be dimmer (voltage drop). For a frame, you will need to make four separate lines that all converge at the power supply terminals. Use cables of the correct gauge (18AWG recommended for lengths up to 5m). The power supply must be placed in a ventilated and accessible location, perhaps inside a nearby cabinet or above a false ceiling. Connect it to a switch or, better yet, to the WiFi controller. Before applying the mirror, do a complete power-on test! Check that everything lights up evenly, that the dimmer works, and that there are no sparks or overheating.
Phase 3: mirror application and final touch
Once the LEDs are working, you can position the mirror. Apply drops of special glass silicone to the wall or directly onto the profiles at strategic points. Don't overdo it, to avoid dirtying the reflective surface. With the help of another person, lift the mirror and gently place it on the profiles, aligning it perfectly. Press lightly to make the silicone adhere. Use temporary supports (paper tape) to hold it in place while the silicone sets (24-48 hours). Once dry, remove the supports. The job is done. Turn on your new, magnificent wall-mounted LED illuminated mirror and prepare to be amazed.
Maintenance, problems, and creative solutions
Your masterpiece is complete. But how to keep it perfect for the next 20 years? And if something doesn't work? In this final chapter, we give you the tools to handle any eventuality and we launch creative ideas to push you beyond the boundaries of the standard project.
Troubleshooting common problems
LED technology is robust, but occasionally small hitches can arise. Here's a quick guide...
Problem: the LED strip does not turn on.
Solution: check that the power supply is connected to the mains and the switch is on. Verify the screw connections on the power supply terminals. Check the polarity (+ and -) on the connections to the strip.
Problem: only part of the strip lights up.
Solution: you have exceeded the maximum series length. Connect that section with a separate cable directly to the power supply. Or, there might be a cut or an oxidized connector on the strip.
Problem: the light flickers or doesn't dim correctly.
Solution: the power supply is probably not compatible with the dimmer (if you're using an AC dimmer). Make sure to use a DC dimmable power supply and a PWM controller (like the WiFi ones from Ledpoint).
Beyond the bathroom: illuminating the whole house with wall-mounted mirrors
Don't limit your creativity to just the bathroom. A wall-mounted illuminated mirror is spectacular in the entrance hall, to visually enlarge the space and welcome with inviting light. In the bedroom, it becomes a furnishing and functional element, perfect for the dressing area. In the living room, you can create a focal point behind a sofa or above a fireplace. Use different color temperatures: 4000K neutral for work areas (makeup), 2700K very warm to create atmosphere in the living room. With RGB or RGBW controllers, you can even change colors depending on mood or occasion. The possibilities are limited only by your imagination.
You're not just buying LEDs. You're investing in an experience. Every morning, for the next few decades, you'll wake up to perfect light, flawlessly illuminating every corner without effort. The process we've described is detailed, but not complicated. Ledpoint provides you with all the high-quality components, guides, and technical support to set up the lighting for any environment. What are you waiting for? Your dream illuminated wall mirror is just a few clicks away. Choose the products, design your light, and forever transform the way you live in your home. Start now at www.ledpoint.it.