


LED ceiling light: a revolution in lighting
Imagine walking into a room and being enveloped by perfect, uniform, all-encompassing light thanks to a single LED ceiling light. A light that doesn't strain your eyes, that enhances every detail of the décor, and that, incredibly, saves you up to 90% on your energy bill. We are not talking about a dream or a future technology. We are talking about the current revolution, tangible and accessible to all: the LED ceiling light.
But there's more. The real revolution is not just buying a ceiling light, but creating one tailored to you, for your home, for your taste. With the high-quality LED strips and LED profiles you find at Ledpoint.it, you can design and build the lighting system of your dreams yourself.
This article is your map to discover everything, absolutely everything, about how LED ceiling lights are changing the way we live in domestic spaces and how you can be the architect of this change. Get ready for an in-depth journey into the numbers, the technology, the design, and the practical steps to say goodbye to old lights and embrace the lighting of the present.
LED ceiling light: why choose it
Before diving into the "how" of creating an LED ceiling light, it's essential to understand the "why." Why are millions of people in Italy and around the world replacing chandeliers, halogen spotlights, and neon lights with LED ceiling lights? The answer is not one, but an overwhelming combination of objective data, economic advantages, and benefits for quality of life. In this chapter, we will dismantle the myth of traditional lighting piece by piece and build, with numbers in hand, the case for the absolute supremacy of LED.
Energy savings: not just a promise, but a tangible reality
The first driver of the LED revolution is economy. And when we talk about economy, we must talk about precise numbers. A traditional 60W incandescent light bulb produces light by converting about 90% of the energy it consumes into heat. It's an uneconomical and obsolete system. A high-efficiency LED strip, like the high-efficiency LED strips from Ledpoint.it, provides the same amount of light (lumens) while consuming a fraction of the power.
Comparison table: real consumption and savings
Consider a light point in the living room, turned on for an average of 5 hours a day. Here is the annual comparison:
| Technology | Power (W) | Annual consumption (kWh) | Annual cost (€)* | Savings vs. incandescent |
|---|---|---|---|---|
| Incandescent (60W) | 60 | 109.5 | ≈ 35.00 € | 0% |
| Halogen (42W) | 42 | 76.65 | ≈ 24.50 € | 30% |
| LED Strip for Ceiling Light (15W) | 15 | 27.375 | ≈ 8.75 € | 75% |
*Calculated with an energy cost of 0.32 €/kWh. The numbers speak for themselves: switching to an LED ceiling light built with efficient LED strips can cut lighting costs by three-quarters. Multiplied by all the light points in a house, the savings become hundreds of euros per year. This is not an advantage; it's an economic necessity.
Lifespan: 50,000 hours of uninterrupted light
While a traditional light bulb burns out after a few thousand hours, a quality LED strip has an average declared lifespan of 50,000 hours. What does this mean in practical terms? It means that if you keep it on 12 hours a day, every day, your LED ceiling light will continue to shine for over 11 years. 24 hours a day? Over 5 and a half years of constant light. This forever eliminates the annoying and potentially dangerous task of replacing light bulbs in the ceiling, often in awkward positions. By choosing premium components, you ensure that this lifespan is not just a promise, but a guarantee of performance over time.
Creating a custom LED ceiling light: step-by-step guide
Now that the advantages are clear, comes the most exciting part: the creation. Building your own LED ceiling light is not a job for an experienced electrician, but a project within reach of anyone willing to achieve a professional and unique result. With the right components from ledpoint.it, you can create a ceiling light that doesn't exist in any store, perfect for your exact measurements and your style.
The fundamental components: from LED strip to profile, nothing is left to chance
A quality DIY LED ceiling light is based on four pillars: the light source, the support that diffuses and protects it, the power supply that makes it safe, and the controls that bring it to life.
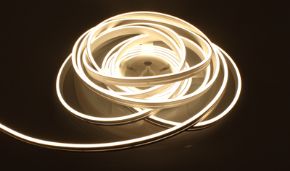
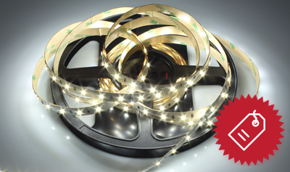
1. The source: choosing the perfect LED strip
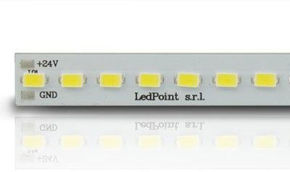
The LED strip is the beating heart of your ceiling light. The choice is vast and crucial. Here are the parameters to master:
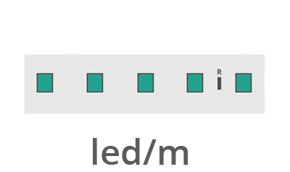
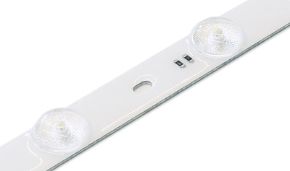
- LED Density: 60, 120, 240 LEDs per meter. For a ceiling light with uniform indirect light, 120 LEDs/m is the sweet spot between cost and result. For a continuous "light line" effect without dark spots, 240 LEDs/m is the top choice, made possible by products like the 240 LEDs/m high-density LED strip.
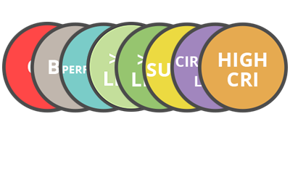
- Color Temperature (K): 2700K (warm, intimate), 3000K (neutral warm), 4000K (neutral, task), 6500K (cool, daylight). For the living room and bedroom, 2700-3000K creates atmosphere. For kitchen and bathroom, 4000K offers precision.
- Color Rendering Index (CRI): always choose a CRI >90 (Ra90). This is the secret to light that renders colors realistically, making food, clothes, and skin shine. The CRI90+ LED strips are fundamental for a premium result.
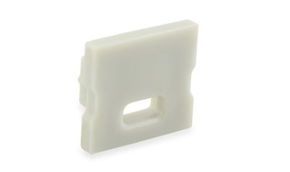
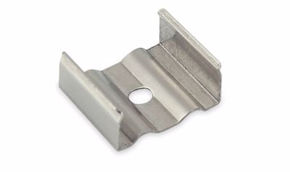
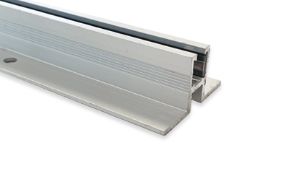
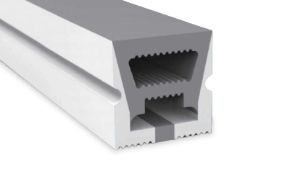
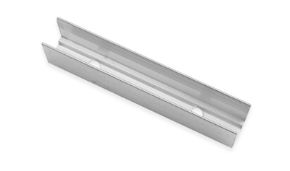
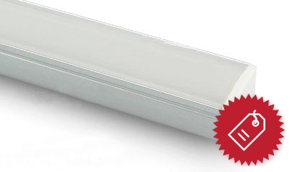
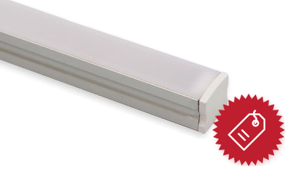
2. The body: ceiling light profiles, the importance of the heat sink
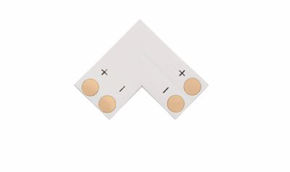
Gluing an LED strip directly to the ceiling is a beginner's mistake. The heat produced accumulates, degrading the LEDs and drastically reducing their lifespan. The solution is ceiling light profiles. They perform three functions: they dissipate heat thanks to the aluminum, they diffuse light thanks to opal or transparent diffusers, and they provide perfect aesthetic finishing. The 48*18 mm wall-mounted aluminum profile is ideal for indirect ceiling lighting, creating that famous "light line" that seems to float. For more classic installations, the recessed profile integrates into a hidden channel.
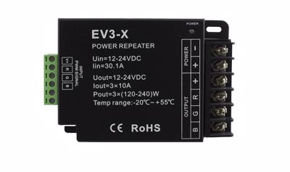
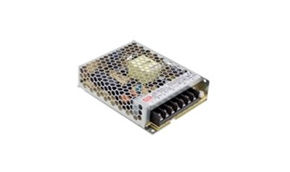
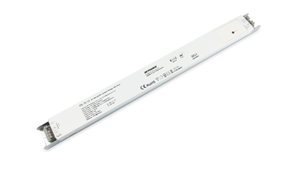
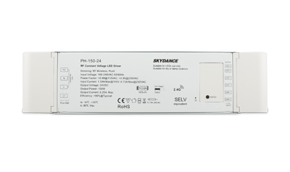
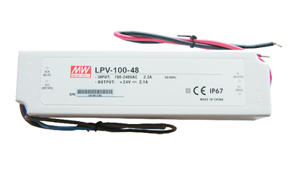
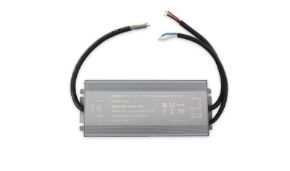
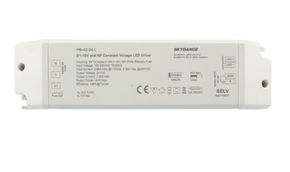
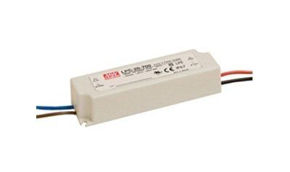
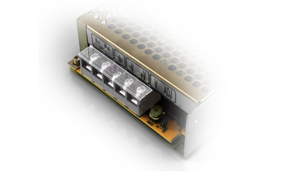
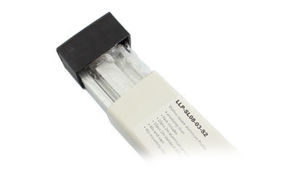
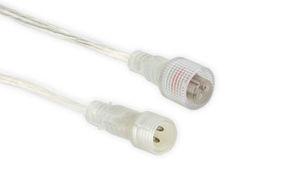
3. The power supply: safe and stable
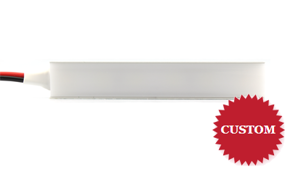
A poor-quality power supply is the Achilles' heel of any LED installation. It must provide constant voltage (12V or 24V, depending on the strip) and protect against surges. The golden rule: choose a power supply with a wattage (W) 20% higher than the total consumption of your strips. For a ceiling light with 10 meters of strip at 14.4W/m (24V), the consumption is 144W. You will need a power supply of at least 175W. The professional LED power supplies from Ledpoint.it offer efficiency and silence, fundamental for living environments.
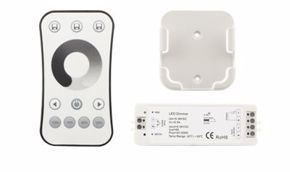
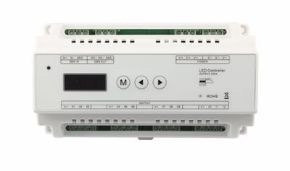
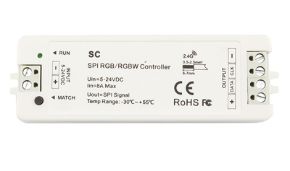
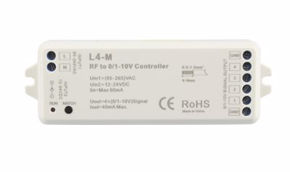
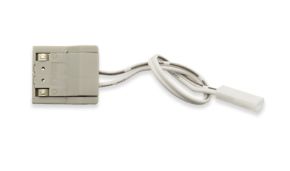
4. Control: dimming and smart control
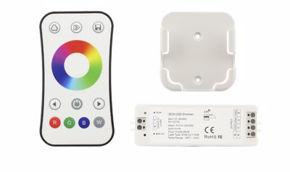
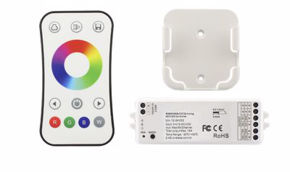
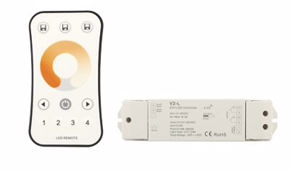
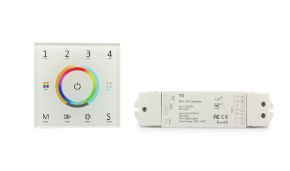
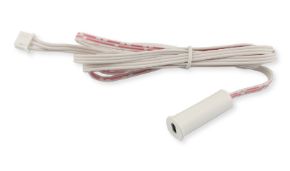
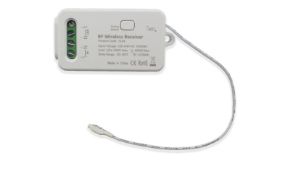
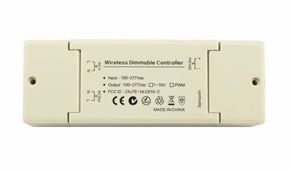
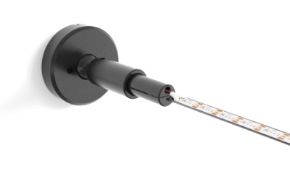
The real magic of a custom LED ceiling light is total control. With a simple wall-mounted remote, associated with its controller, you can adjust the intensity, creating atmosphere. But the next step is smart integration. A Wi-Fi or Zigbee controller, compatible with Amazon Alexa, Google Home, or Apple HomeKit, allows you to control the light with your voice, program on/off times, and choose from millions of colors (if you opt for RGB or RGBW LED strips). Imagine transforming your living room with a ceiling light that changes color for movies, dinner, or a party. It's possible, and it's simple with smart LED controllers.
Summary table of components for building a standard LED ceiling light (10 linear meters)
| Component | Recommended product | Specifications | Quantity | Critical function |
|---|---|---|---|---|
| LED Strip | LED Strip 24V 120LEDs/m CRI90+ | 3000K, 14.4W/m, 1800lm/m | 10 meters | Generates high-quality light with excellent color rendering. |
| Profile | Wall Profile 48*18 | Anodized aluminum, 2.5m per piece | 4 pieces (10m total) | Dissipates heat, diffuses light, aesthetic finish. |
| Diffuser | Opal Diffuser | Opal polycarbonate, high diffusion | 10 linear meters | Makes light uniform, eliminates glare. |
| Power Supply | LED Power Supply 24V 200W | Constant voltage, silent | 1 | Provides stable and safe power to the entire system. |
| Controller | Wi-Fi Dimmable Controller TUYA | Compatible with App and Voice Assistants | 1 | Allows intensity adjustment and smart control. |
Installation: how to mount your LED ceiling light in 6 simple steps
Now that you have all the pieces of the puzzle, it's time to assemble them. Follow this systematic guide for a professional result.
Step 1 - Planning and measurement: define the path of your ceiling light (room perimeter, double perimeter, central island). Measure precisely and cut the profiles to the required length using a hand saw or a cutter. Remember to consider 45° angles for joints.
Step 2 - Mounting the profiles: fix the profiles to the ceiling using the appropriate mounting brackets and anchors suitable for your wall type (drywall, concrete, wood). Use a laser level to ensure a perfectly straight line. This step is crucial for the final aesthetic.
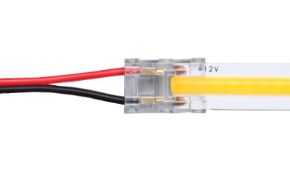
Step 3 - Preparing the LED strips: cut the LED strips only at the marked points (usually every 2.5, 5, or 10 cm). Clean the surface of the profile with isopropyl alcohol. Peel off the 3M adhesive backing of the strip and apply it precisely inside the profile, pressing firmly along the entire path.
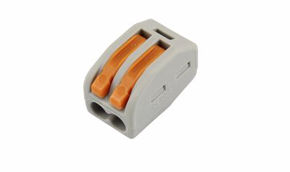
Step 4 - Wiring and connections: connect the different sections of LED strips together using clip connectors or, for a more professional and permanent connection, by soldering the wires. Pay attention to polarity (+ and -). Bring the main wires to the power supply, which should be placed in a ventilated and accessible location (e.g., a shutter box or a piece of furniture).
Step 5 - Inserting the Diffuser: once the connection is tested (connect temporarily and turn on), snap the opal diffuser into the profile. You will hear a "click" that assures you it is locked. This component will transform the line of individual light points into a continuous and uniform band of light.
Step 6 - Final Connection and Test: connect the power supply to the 230V mains via a switch and, if provided, connect the dimmer controller between the power supply and the strip. Turn it on and enjoy the revolution. Your custom LED ceiling light is alive.
LED ceiling light: the alternative to old ceiling lights with incandescent bulbs
We have traveled through the overwhelming numbers of energy savings, explored the technology that guarantees perfect light for 50,000 hours, and dissected every single component needed to build a custom LED ceiling light. The conclusion is one: the era of standard, expensive, and limited LED ceiling lights is over. The bright and efficient future lies in customization.
It is within your power to create a lighting system that does not just illuminate, but defines the atmosphere, enhances your home, and protects your wallet for the next decade. Ledpoint.it provides you with every single piece of this future: from the most advanced LED strips to the most elegant profiles, from the most reliable power supplies to the smartest controllers. Don't settle for buying a light. Create your light. Click, explore, choose the components, and start the revolution in your home lighting today.