


How to hide led strips perfectly
Many people wonder how to perfectly hide led strips in order to integrate them into an environment or piece of furniture without compromising its aesthetics. For this reason, we thought to offer some suggestions through this small guide, with various professional tricks that lead to concrete solutions, making the final installation invisible and perfect. As always, 90% of the result comes from the initial design and the choice of the right components, first and foremost the installation profile.
How to hide led strips: not a straightforward operation
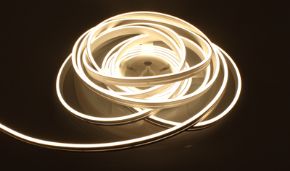
Often, despite trying to cover the led strip by hiding it, very common errors occur. The LED strip is a direct light source, which means that if you point it straight toward the observer's eye, it will always be visible and annoying. The goal is not to cover it, but to control and direct its light in such a way that it doesn't become bothersome.
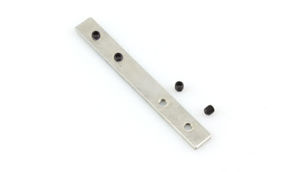
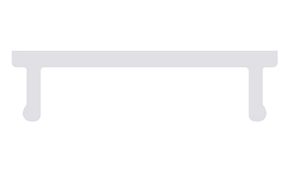
Choosing the right profile to hide LED strips
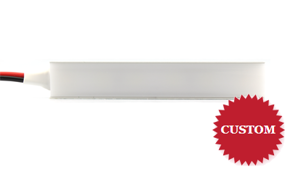
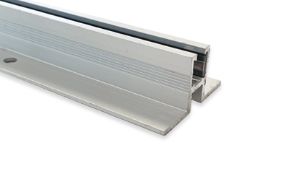
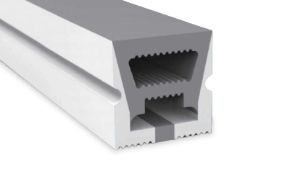
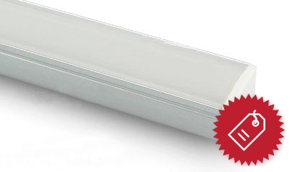
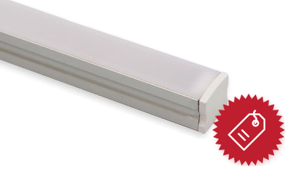
There are many types of profiles, but for invisible installations, there are 3-4 specific models that, once cut to size, allow you to avoid visible joints. Length is crucial because the fewer joints you have, the easier it is to give continuity to the light, making the source invisible.
| Application | Recommended profile | Recommended cut | Diffuser type | Trick to achieve total invisibility |
|---|---|---|---|---|
| Recessed ceilings / Light Cove | Angular profile or micro channel SL-07 | 45° cut on the ends for perfect joints | Opaque milky white diffuser | Mount the profile at least 10cm from the wall. |
| Under-cabinet lighting or kitchen furniture | Mini profile SL-08 or SL-07 | Cut to exact cabinet lengths | Satin or opaque | Position the strip in the outermost groove of the profile, not in the center. The cabinet edge will act as a natural glare shield. |
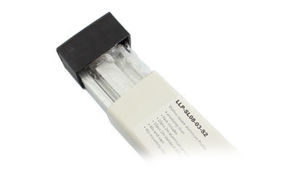
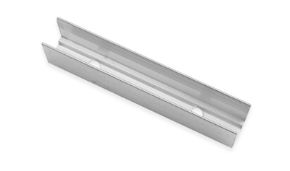
| Hallway / Illuminated baseboard | Baseboard profile PR-BB01-02-S2 or PR-BB02-02-S2 | Standard cut | Opaque milky white diffuser | The strip will be inserted into the baseboard profile and the light will graze the wall and will never be directed into the eyes. |
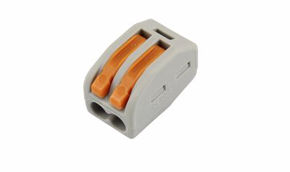
| Stairs and architectural contexts | Angular profile | Cutting and shaping based on CAD/CAM drawings | Opaque milky white diffuser | For corners, use push-fit connectors instead of silicone |
How to perfectly hide LED strips in just 7 Steps
Let's now see how to hide LED strips in a few simple steps, thus achieving a perfectly invisible installation.
- Laser measurement and light design: never start without a diagram indicating the exact position of the profile, the emission angle, the distance from surfaces, and the power supply points. We recommend using simulation software (Dialux) even for small installations.
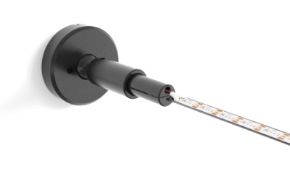
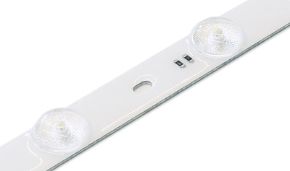
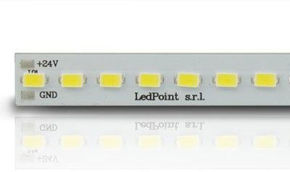
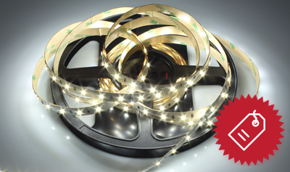
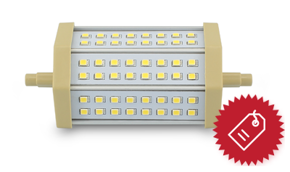
- LED strip selection: LED density is fundamental: to achieve invisibility, a high density is required (e.g., 120 LEDs/m or more) so that the light appears continuous. Our COB strips (Chip on Board) are the best for this purpose, because they create a continuous line of light without individual points.
- Custom cutting of the profile: the profile is simple to cut, but you can also request our cutting service by contacting us.
- Pre-wiring and workshop testing: before bringing everything to the installation site, we recommend connecting each segment to the power supply and checking the uniformity of color and brightness. A trick to avoid inconsistencies? Always use the same production batch for the entire installation.
- Profile installation: first fix the empty profile, perfectly aligned. Using laser levels and fast-setting drywall adhesives, it's possible to align them perfectly and avoid visible screws.
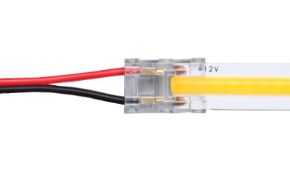
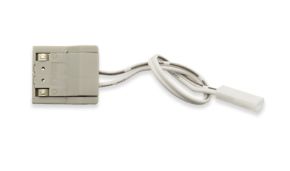
- Inserting the strip and diffuser: only at this point can you insert the LED strip into the profile, connect it with clip connectors, and close everything with the diffuser.
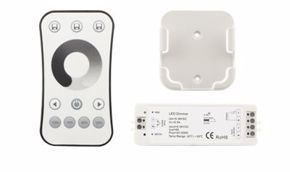
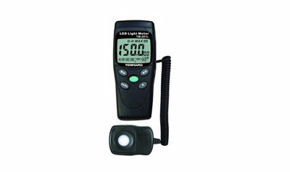
- Final adjustment and photometric testing: now you can turn on the lights and measure luminous uniformity with a lux meter. We adjust the angle of some profiles if necessary. We always deliver a card with the dimmer settings and the chosen color temperature.
Some technical data to consider
| Parameter | Minimum value to achieve the invisibility effect | Optimal value | Measuring instrument | Problems that occur if the parameter is not respected |
|---|---|---|---|---|
| Luminous uniformity (min/max ratio) | 0.7 | > 0.85 | Lux meter + point grid | Light and shadow waves are created, revealing the strip. |
| Color Rendering Index (CRI) | Ra 90 | Ra 97+ | Spectroradiometer | The colors of illuminated objects appear dull; the eye perceives something anomalous. |
| Color temperature (CCT) - tolerance | ± 200 K | ± 50 K (Very tight binning) | Colorimeter | On one side of the room the light is more yellow, on the other more blue. A true visual disaster. |
| Minimum viewing distance (Vd) | 1.5 x Installation Height | > 2.5 x Installation height | Design calculation | From a normal viewing position (e.g., sitting in the living room) the direct glare of the LED is visible, causing visual discomfort |
How to hide LED strips: a process that requires the utmost attention.
If you had wondered how to hide LED strips, now you know how to do it. As you will have understood, a truly invisible LED installation is a process that requires attention and care for detail. It requires expertise in the physics of light, materials, and meticulous attention to detail. For this reason, maximum control is necessary: control of the angle, heat, color, and length.
The result, however, is priceless: you see only the light, not the source. The environment comes to life, spaces appear wider, and objects stand out thanks to the presence of soft, perfect lighting.
Try it to believe it!