


DIY chandelier: the ultimate guide to creating designer lighting with LED strips and aluminum profiles
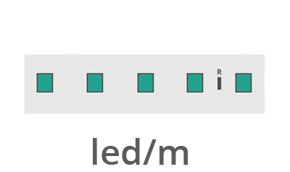
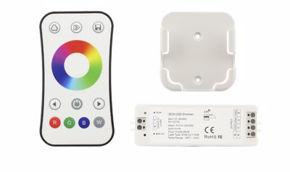
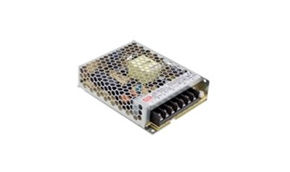
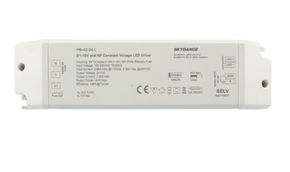
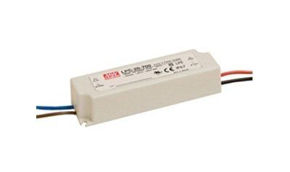
Imagine walking into your living room and being enveloped in a warm, welcoming light that enhances every detail of your furnishings and creates a unique atmosphere. Now imagine that you created this magic. Yes, you. With this guide, you won't just choose a chandelier from a catalog: you will design it, build it, and personalize every detail. We are about to reveal all the secrets to creating a designer pendant or ceiling light, using innovative LED strips and robust aluminum profiles. This isn't just a DIY project: it's a radical upgrade for your home, an investment in atmosphere and functionality. Get ready to radically transform the lighting in your living room, kitchen, or study. Let's begin. Before we dive into the "how", it's essential to understand the "why". Choosing to build a chandelier with LED strips isn't just a simple alternative to buying a classic one: it's a conscious choice towards superior, versatile, and efficient light. But what makes them so special? Traditional incandescent or halogen lamps are now relics of the past. LED strips represent the present and future of lighting for a series of unassailable scientific and practical reasons. Luminous efficacy is the first factor: an LED converts up to 80-90% of the electrical energy it receives into light, while a traditional light bulb dissipates most of the energy as heat. This translates into savings on your electricity bill that can exceed 80%. But it's not just about money. Lifespan is another overwhelming strength: while a halogen lamp burns out after about 2,000 hours and a fluorescent one after 10,000, a quality LED strip, like those you find on Ledpoint, has an average life ranging from 30,000 to 50,000 hours. This means that, using it 8 hours a day, you could forget about maintenance for over 15 years. Think about the convenience. Then comes creative flexibility. An LED strip is a flexible and cuttable tape. You can adapt its shape to any project: straight lines, curves, angles, spirals. This allows you to create chandeliers with the most daring and innovative shapes, impossible to achieve with traditional light sources. Light control is total: you can adjust the intensity (dim) and, by choosing RGB or RGBW LED strips, you can even change the color at will, from sunset orange to pure white for concentration, to a relaxing blue atmosphere. LED strips are fantastic, but to bring a real chandelier to life, they need a structure. And this is where aluminum profiles come into play. They are not simple containers: they are the nervous system of your project. Aluminum is chosen for a fundamental property: it is an excellent thermal conductor. LEDs, although efficient, produce heat. An aluminum profile absorbs this heat and dissipates it into the environment, keeping the operating temperature of the LEDs much lower. This is the secret to guaranteeing that 50,000-hour lifespan we talked about. An LED that runs cool, lives long. A cheap or plastic profile would cause premature overheating and rapid decay of the light output. But there's more: the profile defines the aesthetics. The suspension profiles you find on Ledpoint are designed to be hung from the ceiling with steel cables, creating that modern, suspended effect you see in design magazines. The round profiles, on the other hand, are perfect for creating circular chandeliers, disc pendants, or elegant ceiling lights. The finish (white, black, silver, anodized) integrates with any furnishing style. Finally, the profile is equipped with an opal or transparent diffuser. This component is crucial: it transforms the sequence of bright dots from the individual LEDs into a continuous, homogeneous, and pleasant-to-look-at line of light, without annoying glare. It's the difference between a homemade product and a professional result. Now that the picture is clear, let's get to the heart of the design. Choosing the right components isn't complicated, but it must be done with care. The choice depends on two main factors: the environment where the chandelier will go and the aesthetic effect you desire. Color temperature, measured in Kelvin (K), has nothing to do with physical heat, but with the light tone. Choosing the wrong temperature can ruin a room's atmosphere. Here is a scientific and practical guide. A tip: don't be afraid to mix! In the kitchen, you can install a pendant light over the island with neutral 4000K light to illuminate the work surface, and pair it with warm 2700K spotlights in the dining area. This play of contrasts creates dynamism and defines the zones. One of the most common mistakes is undersizing the lighting. A light that's too dim is useless and sad. Conversely, too much light can be annoying. Here's how to do the calculations correctly. The unit of measurement for light emitted by a source is the lumen (lm). To know how many lumens are needed in a room, a standard parameter is used: lumens per square meter (lm/m²) or lux (1 lux = 1 lm/m²). Basic formula: Total Lumens Required = Room Area (m²) x Lumens Required per m². Here is a reference table for different activities: *Source: UNI EN 12464-1 lighting engineering guidelines. Now, let's take a 24V, 3000K, 14.4W per meter SMD 2835 High Density LED strip. This strip has a typical efficacy of about 100-110 lumens per watt. So: 14.4W/m * 110 lm/W = about 1,584 lumens per meter. For our 20 m² living room requiring 3,000 lumens, it would need: 3,000 lm / 1,584 lm/m = about 1.9 meters of strip. But beware! This is the theoretical calculation. In practice, a pendant light does not illuminate the entire room uniformly. If you want it to be your only light source, you need to increase the power by 30-50%. So, for a main chandelier in the living room, I would opt for a ring or structure with 3-4 total meters of this strip, for a total of about 4,500-6,300 lumens, ensuring full and characteristic lighting. The shape of the profile defines the soul of your chandelier. Let's look at them in detail. The suspension profiles are the iconic choice for a contemporary chandelier. They are characterized by clean lines and are hung with adjustable steel cables, allowing you to decide the exact height. They are perfect to be used in multiples: imagine three linear profiles suspended at different heights over a dining table. The effect is spectacular. Advantages: Purchase advice: for a 160 cm dining table, choose a 120-140 cm suspension profile. For a long kitchen island, use two or three 80-100 cm profiles aligned. The round profiles are the answer for those seeking a chandelier more classic in shape but ultramodern in technology. They can be hung like a bell or installed as a surface-mounted light, flush with the ceiling. The diffused light they emit is uniform at 360 degrees, perfect for general and enveloping lighting. Advantages: Purchase advice: diameter is crucial. For a medium-sized room (15-20 m²), a round profile with a diameter between 40 and 60 cm is ideal. For an entrance or hallway, 25-30 cm may suffice. Let's move on to the practical part. By following these steps in order, you will avoid common mistakes and the result will be professional. Don't rush. Planning is everything. 1. Draw a sketch: take paper and pen. Draw the room and the position of the future chandelier. Decide if it will be central, over a table, or if you will use multiple elements. 1. Cut the LED strip (if necessary): LED strips can only be cut at the marked points (usually every 5 or 10 cm). Use sharp scissors. Safety Warning: before any electrical operation, TURN OFF THE POWER AT THE MAIN PANEL. If you are not sure, consult a qualified electrician. 1. Connect the profile to the power supply: the wires coming out of the profile (usually red/black or brown/blue) should be connected to the power supply output terminals (24V +/-). Tighten the screws well. 1. Visual check: recheck all connections, ensuring they are tight and insulated. See? It was simpler than you thought. Now you have in your hands not just a chandelier, but the ability to redesign the lighting of your entire home. The professional components you need to start your project can all be found on Ledpoint. Click here to explore the full range of LED strips, suspension profiles, round profiles, and all accessories. Your home is just waiting for your luminous signature. Before concluding, let's address the most common questions that arise when designing an LED chandelier. Knowing these answers will make you feel like a real expert. Yes, but be careful of the maximum length. For 12V strips, never exceed 5 meters of strip connected in series from a single power feed point, otherwise the LEDs farthest away will appear dimmer due to voltage drop. For 24V strips, you can go up to 10 meters. For greater lengths, you must power the strip from both ends or from intermediate points. This is a crucial detail for uniform lighting. SMD (Surface Mounted Device) strips have discrete LEDs visible as small, close points. They offer high brightness and are very common. COB (Chip On Board) strips have hundreds of micro-LEDs encapsulated in a single continuous layer. The result is an absolutely homogeneous line of light, without any distinct bright dots, even when looking up close. If you want the utmost aesthetic quality and the perfect "line of light" effect, choose COB. It's slightly more expensive, but the result is superlative. Yes. Do not use a traditional halogen dimmer. You have two options: Let's make a realistic estimate for a 1-meter linear suspension chandelier for the kitchen, of high quality: Compare it with a brand-name designer chandelier of similar aesthetic impact and lighting quality: they start at €300 and up. You save at least 50-60%, and you have a custom product, with top-quality components, and the satisfaction of having created it yourself.Why choose an LED strip chandelier? The home lighting revolution
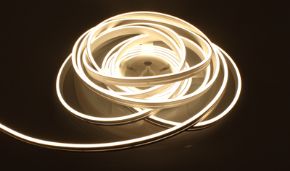
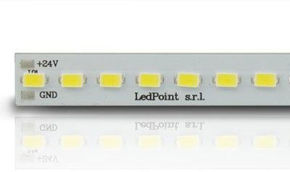
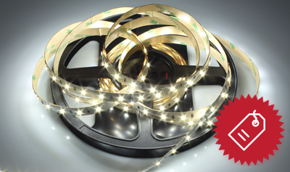
Unquestionable advantages of LED strips: more than just a light bulb
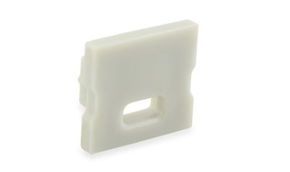
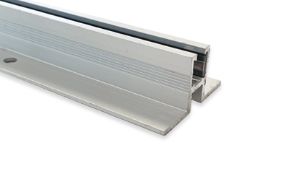
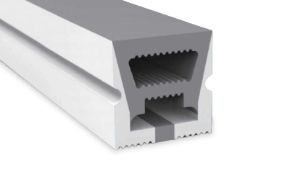
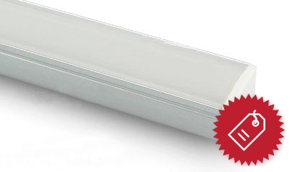
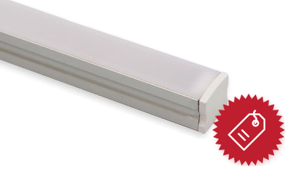
Aluminum profiles: the robust and refined skeleton of your chandelier
The perfect choice: which LED strip and which profile for your room?
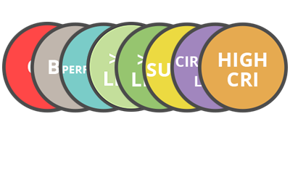
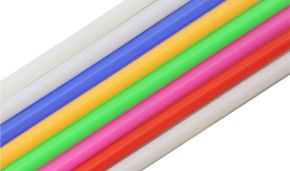
Color temperature: the science of the perfect atmosphere
Environment / Zone Recommended Color Temperature Kelvin Range Psychological and Functional Effect Recommended LED Strips (Ledpoint Examples) Day Zone (Living Room, Lounge) Warm / Extra Warm Light 2700K - 3000K Promotes relaxation, conversation, creating an intimate and welcoming atmosphere. Simulates sunset light. Kitchen Neutral Light 3500K - 4000K Perfect balance between visual comfort and precision. Ideal for preparing food, reading recipes, distinguishing the real colors of ingredients. Reduces eye strain during prolonged tasks. Study, Home Office, Workshop Cool / Natural Light 5000K - 6000K Stimulates concentration, alertness, and productivity. Improves visual contrast, perfect for reading, writing, working on the computer, or on minute details. Simulates midday light. Hallways, Entrances, Passage Areas Warm or Neutral Light 3000K - 4000K Ensures safety in movement without being too intrusive. A warm light is more welcoming at the entrance of a home. Standard density 3000K or 4000K LED Strips. Calculating power and brightness: how much light do you really need?
Type of Environment / Activity Recommended Illuminance (Lux/lm per m²)* Practical Example: 20 m² Room Living Room (general relaxation lighting) 100 - 150 lm/m² 20 m² x 150 lm = 3,000 total lumens Living Room (for reading) 300 - 500 lm/m² (focused light) N/A (requires a table lamp) Kitchen (general lighting) 200 - 300 lm/m² 20 m² x 300 lm = 6,000 total lumens Kitchen work surface 300 - 500 lm/m² 3 m² area x 500 lm = 1,500 lumens (on the surface) Study / Office 300 - 500 lm/m² 15 m² x 500 lm = 7,500 total lumens Choosing the profile: suspension, round, or surface-mounted?
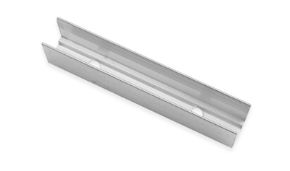
Suspension profiles: modernity and linear design
Round profiles: timeless elegance and enveloping light
Chandelier: step-by-step guide | From design to lighting up your chandelier
Phase 1: design and measurement
2. Measure distances: measure the ceiling height and decide how high you want the chandelier. Standard suggestion: for a chandelier over a table, the base should be 75-90 cm from the table surface.
3. Calculate power: use the lumen formula seen earlier. Decide how many meters of LED strip you need and of what power.
4. Choose components:Phase 2: preparation and profile assembly
2. Apply the strip to the profile: most strips have a 3M adhesive on the back. Clean the internal surface of the profile with alcohol, peel off the protective film, and apply the strip precisely, pressing firmly along the entire tape. Important: respect the polarity (+ and -).
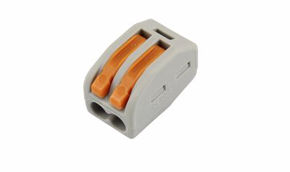
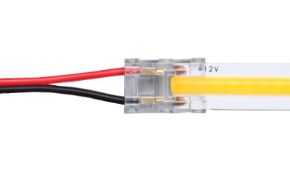
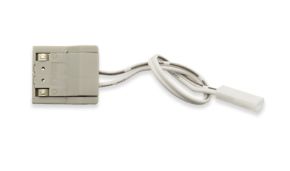
3. Connect the wires: use clip connectors or solder the connecting wires to the strip pads. Insulate the connections well with electrical tape or heat shrink tubing.
4. Mount the diffuser: insert the plexiglass diffuser (opal or transparent) into the profile groove. Push it gently until you hear it click.
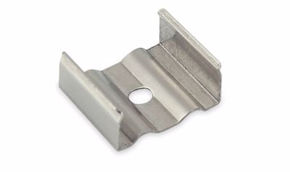
5. Prepare the suspension point: install a sturdy bracket or ceiling hook at the designated point. Make sure to anchor it to a beam or use appropriate wall plugs for the weight.Phase 3: wiring and electrical connection
2. Connect the power supply to the mains: the power supply input cable (with plug) should be connected to the 230V mains. You can connect it directly to an existing light socket (with a special extension) or to a socket, depending on the model. Ideally, have it exit the ceiling in a hidden spot.
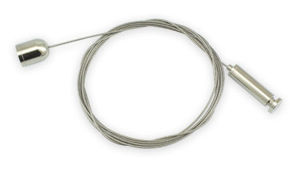
3. Manage suspension cables: run the electrical wires inside the steel suspension cables, if present, for a clean and professional look. Adjust to the desired height.Phase 4: testing and powering on
2. First test WITHOUT diffuser: disconnect power, connect everything, but keep the diffuser unmounted. Restore power. Check that all sections of the strip light up uniformly. If something doesn't work, disconnect and check the connections.
3. Final test: everything ok? Disconnect power, definitively mount the diffuser, hang the chandelier at the suspension point. Restore power.
4. Enjoy the light: turn it on. This is the moment. The light you created envelops you. Observe the atmosphere that is created. Adjust the height if necessary. If you have a dimmer, play with the intensity to find the perfect level for every moment of the day.Frequently asked questions (FAQ) and technical answers
Can i connect multiple LED strips in series to a single power supply?
What is the difference between SMD and COB LED strips?
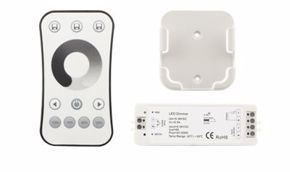
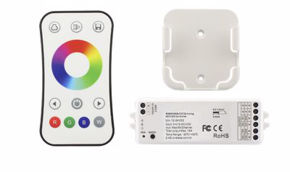
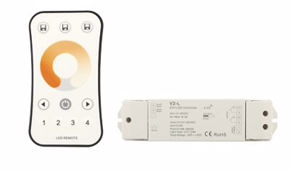
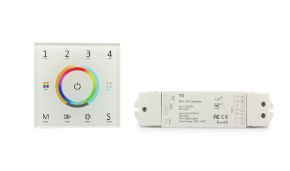
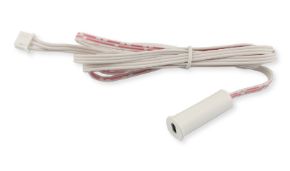
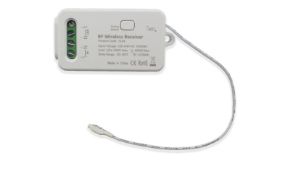
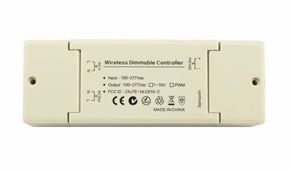
Do I need a special dimmer for LED strips?
How much does it cost to make a DIY chandelier with quality components?