


Campers, caravans and trailers: LEDs on the road
In campers, lighting is no longer just a function, but the soul of life on the road. Designing the light inside your camper, caravan, or motorhome means transforming a mobile space into a true home on wheels, where comfort, efficiency, and atmosphere come together.
In this article, we will explore in depth how LED technology is revolutionizing the camper travel experience, analyzing the latest trends from the world's major trade shows, providing detailed technical solutions and practical installation guides, all with a focus on maximizing energy autonomy. We will discover why intelligent lighting design is the most important investment for those who live the freedom of the road.
Camper: 12V power, safety, and efficiency
Before choosing a simple LED strip for your camper, it is essential to understand your vehicle's electrical ecosystem. A mistake at this stage can compromise not only functionality but also the safety of the system.
The 12 volt system: the camper's energy heart
All modern campers, caravans, and motorhomes are equipped with a 12 Volt direct current (DC) electrical system, powered by one or more service batteries. Unlike common 230V AC household outlets, this system is designed for off-grid use and to power reduced loads with complete safety.
Choosing LED products specific for 12V DC in campers is not an option, but a necessity: they guarantee maximum conversion efficiency, reduce energy waste, and, above all, are safe to be connected directly to the vehicle's battery. Using standard 230V LED bulbs or strips would require an inverter, introducing complexity, cost, and inefficiencies.
Consumption, autonomy, and practical calculations
The main advantage of LEDs is their extremely low energy consumption. To plan for autonomy, two simple but crucial calculations are essential:
1. Total power (watts): sum the watts of all lights you intend to use simultaneously. For example, 5 spotlights at 3W each + 2 strips at 5W = 25W total.
2. Battery capacity (ampere-hours - Ah): a 100Ah battery theoretically provides 100 amps for one hour, or 1 amp for 100 hours. To find the autonomy in hours, use the formula: (Battery Capacity in Ah * Voltage 12V) / Total Power in Watts. With a 100Ah battery and 25W consumption: (100Ah * 12V) / 25W = 48 hours of theoretical autonomy. In reality, to preserve the battery, you should not go below 50% charge, bringing the useful autonomy to about 24 hours. This example shows the importance of every watt saved.
Safety and regulations in camper electrical systems
Electrical safety in a confined and mobile space like a camper is an absolute priority. Always use cables with the correct cross-section for the load and the right length. An undersized cable overheats, becoming a fire hazard.
For connections, prefer crimped or soldered connectors, avoiding insulating tape as the only solution. When passing through partitions or in areas subject to vibrations, protect cables with sleeves or cable glands to prevent wear. As recommended by industry experts, if in doubt about the design or installation of the system, it is always advisable to consult an electrician specialized in recreational vehicle systems.
Trends from caravan Salon 2025 and world fairs
The Caravan Salon in Düsseldorf, recognized as the world's most important trade show in the sector, is not just a display of vehicles, but a true laboratory of future trends for mobile living. The 2025 edition, with its 810 exhibitors from 41 countries, clearly outlined the direction: lighting integrates with technology to create personalized, sustainable, and connected experiences.
Smart lighting and integrated control: the home on wheels becomes intelligent
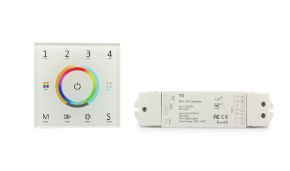
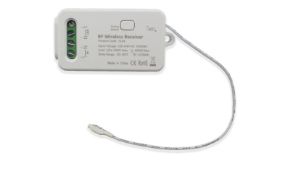
The dominant trend in campers is the integration of lighting into a home automation ecosystem. It's no longer just about switches, but about app control, integration with voice assistants, and automations. Imagine being able to set an evening "scene" that, with a voice command or a tap on your smartphone, dims the main lights, turns on a subtle under-cabinet light in the kitchen, and activates a night light along the corridor, all set to a warm and cozy tone.
This advanced personalization of atmosphere is now a distinctive feature in high-end vehicles and is replicable even on older models with the right products. The show demonstrated that travelers increasingly seek the comfort and control typical of a smart home, brought on the road.
Sustainability and autonomy: LED, solar, and innovative materials
Sustainability is not a slogan, but a technical requirement, even for campers. The combination high-efficiency LED + solar systems is the norm for those who desire real energy independence. The latest generation LEDs offer a higher luminous flux (lumens) for the same watts consumed, exponentially extending autonomy.
In parallel, the use of recyclable and low-impact materials in fixtures and luminaires is spreading, responding to a growing ecological sensitivity among campers. Even the fight against light pollution is becoming a theme, with designs that direct light only where needed, preserving the magic of the starry sky at the campground.
Design and multifunctionality in campers: maximizing space while minimizing bulk
In a limited space like that of a camper, every element must be functional. Trade shows show a preference for ultra-thin fixtures, miniaturized spotlights, and flexible LED strips that disappear into the furnishings. Multifunctionality is queen: modern reading lights for campers do not just illuminate, but integrate touch dimmer controls and adjustable bases.
This responds to the need to reduce the number of objects, cables, and occupied sockets, simplifying life on board. Furthermore, for DIY enthusiasts and converters, there is a rich offer of modular components that allow for custom solutions, another strong growth trend highlighted at the Salon.
Camper: design by functional zones
Lighting a camper doesn't simply mean placing lights on the ceiling. It means dividing the space into functional zones and providing each with the type, intensity, and color temperature of light most suitable for the activities that take place there. It's the approach that transforms a van into a home.
Living/Kitchen area: functional brightness and convivial atmosphere
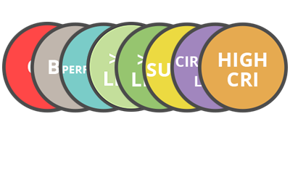
Here the light must be multi-layered. You need general lighting, often entrusted to a central dimmable LED ceiling light, for uniform light during cleaning or searching for objects. However, it is essential to add task-specific lighting: LED strips with cool light and high color rendering index (CRI >90) under kitchen cabinets, for safe cutting and cooking, and an LED strip above the dining table, to create a luminous island that fosters conviviality.
The ability to dim different layers separately allows you to switch from the vibrant light of lunch to the intimate atmosphere of a candlelit dinner (simulated by warm LEDs, of course).
Sleeping area: relaxation and comfort without glare
The camper's bedroom requires lighting that promotes relaxation and sleep. Dimmable lights are essential. For safe night lighting, very low-intensity LED strips (even with blue or red light, less disruptive for melatonin production) placed flush with the floor along the path to the bathroom are perfect.
A touch of atmosphere? A thin wireless-controlled RGB strip hidden in the bed frame or in a ceiling recess, to create a soft luminous sky.
Bathroom and exteriors: robustness, protection, and functionality
Here the parameters change radically. For the camper bathroom, it is mandatory to choose fixtures with an adequate IP (Ingress Protection) rating for humidity and splashes. For shower/bath areas, at least IP53 or higher is recommended.
For exteriors – lighting the bike compartment, the access step, or the living area under the awning – the challenge is greater: it requires robustness against weather, UV rays, and vibrations. Use LED strips with IP65 or IP67 protection (waterproof), preferably in anodized aluminum. Step lighting is not just aesthetic: it is a fundamental safety issue for getting in and out in the middle of the night.
Concrete solutions: the Ledpoint catalog for lighting your camper
After exploring theory and trends, let's see how to translate these concepts into reality with specific products. On Ledpoint.it you will find a professional selection designed for the unique needs of life in a camper.
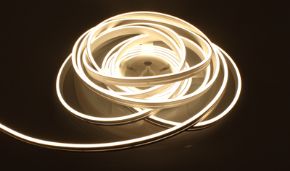
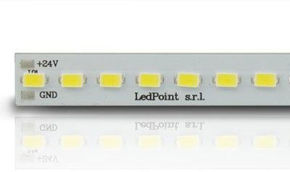
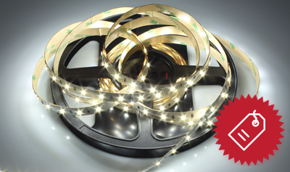
Flexible 12V LED strips: versatility and atmosphere
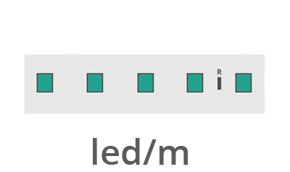
12V LED strips are the most versatile tool for DIY in a camper. Available in 5-meter reels, they can be cut to size (only at the marked points) to fit any space. Our range includes:
• SMD 2835 LED strips in warm/neutral/cool white: Perfect for linear and uniform lighting under cabinets, beds, or steps. High luminous output and excellent efficiency;
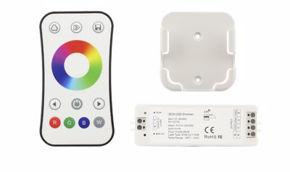
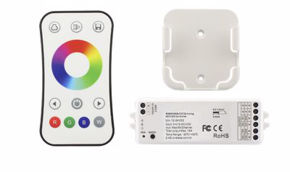
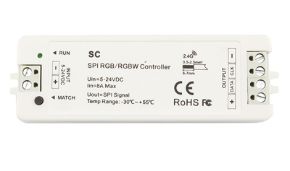
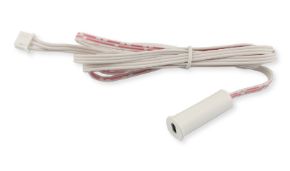
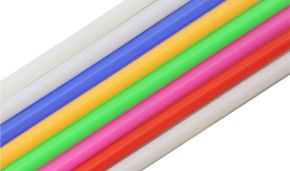
• RGB and RGB+W LED strips: the ultimate in customization. Controllable via remote or app, they allow you to choose from millions of colors for atmosphere, plus pure white for daily use. Ideal for creating design accents;
• IP67 Waterproof LED strips: The mandatory choice for exteriors, bathrooms, or the bike compartment. Protected by a silicone sleeve, they resist splashes and moisture;
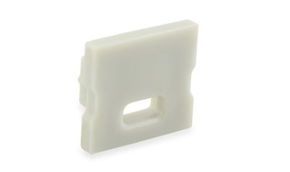
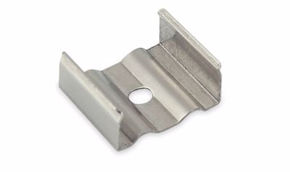
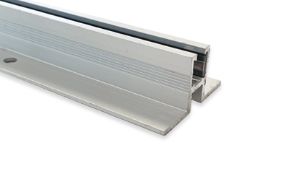
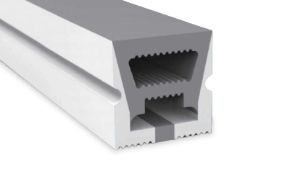
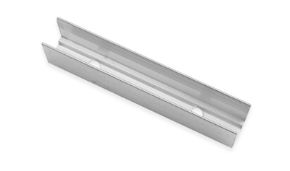
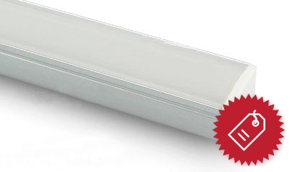
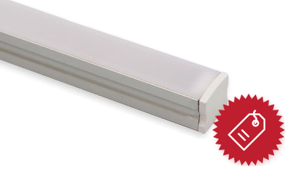
Installation tip: for a professional result, always use an aluminum profile to house the LED strip. The profile dissipates heat (prolonging LED life), diffuses light better, and provides a finished, clean look.
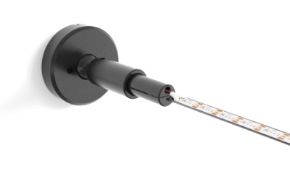
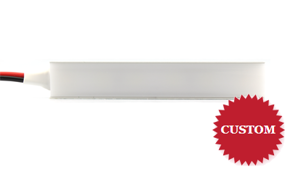
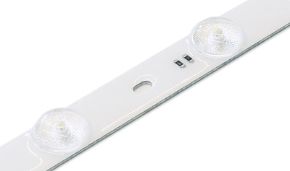
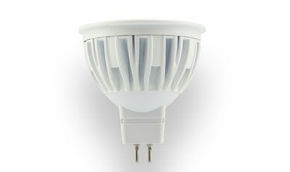
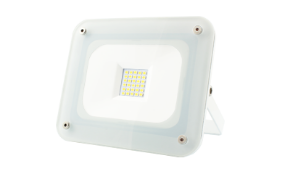
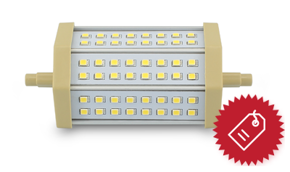
12V LED Spotlights and Modules: Precision and Elegance
For directional and accent lighting, the choice falls on spotlights and LED modules:
• 12V recessed spotlights (dimmable): tiny (often only 3-4 cm in diameter), they integrate perfectly into low camper ceilings. Choose the version with an adjustable beam angle to direct the light exactly where needed, for example on the cooktop or table.
• 12V LED modules: allow you to create small light points and decorate different areas.
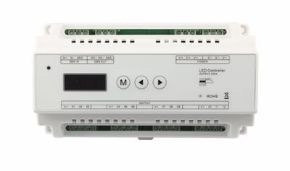
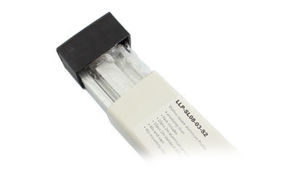
Essential accessories: power supplies, dimmers, and connectors
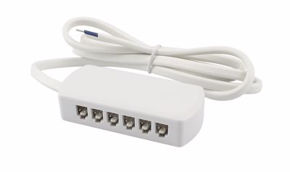
No LED project can function in a camper without the right accessories. On Ledpoint.it you'll find everything you need:
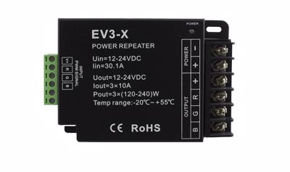
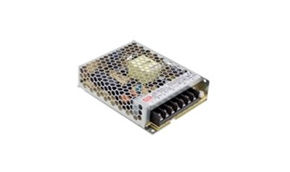
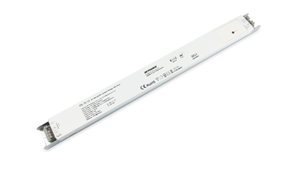
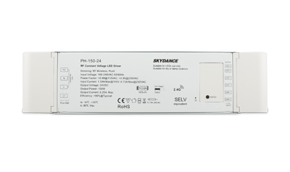
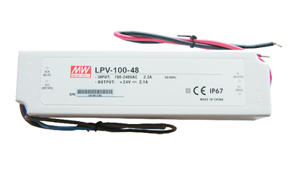
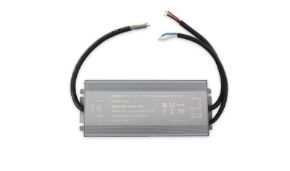
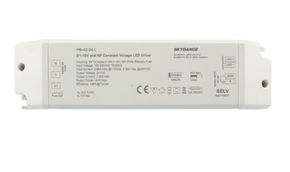
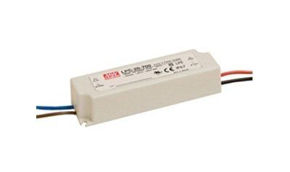
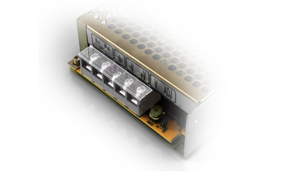
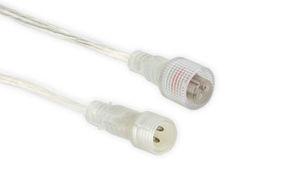
• 12V DC power supplies (drivers): choose quality power supplies with a wattage 20-30% higher than the total of your LEDs. This guarantees stability and longevity. For maximum efficiency in a camper, consider power supplies with a wide input range (e.g., 90-260V AC) to connect them to the inverter when hooked up to shore power;
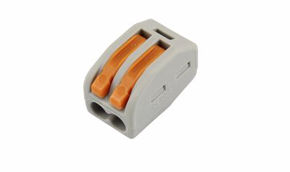
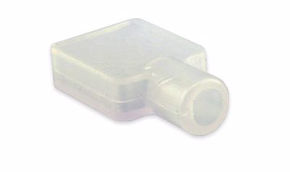
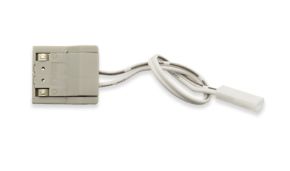
• connectors and cables: always use copper cables of adequate cross-section (recommended at least 1.5 mm² for lighting circuits) and clip connectors for LED strips to make safe and quick connections, without the need for soldering;
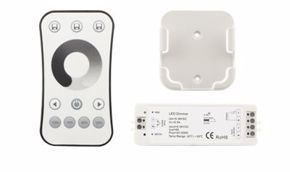
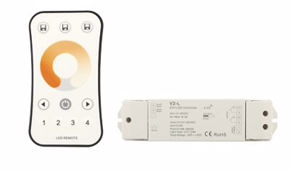
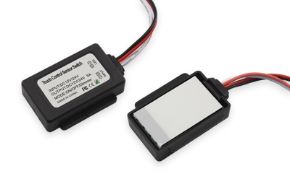
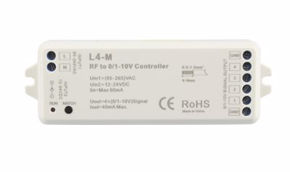
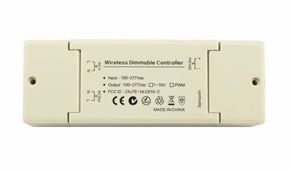
• PWM dimmers for 12V LEDs: classic dimmers for halogens do not work with LEDs! A Pulse Width Modulation (PWM) dimmer specific for 12V DC circuits is necessary. Available in both rotary and touch versions, they allow adjusting light intensity without flickering.
Camper: installation and maintenance
The final step of the camper outfitting project is installation. With a methodical approach and the right precautions, it's an operation within reach of many DIY enthusiasts.
Installing an LED strip
The first step for the camper outfitting is installing the chosen LED strip:
1. Planning and measuring: decide the route, thoroughly clean and degrease the surfaces (using isopropyl alcohol). Measure the required length;
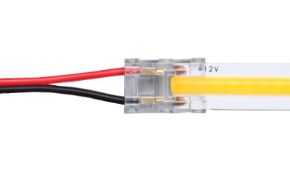
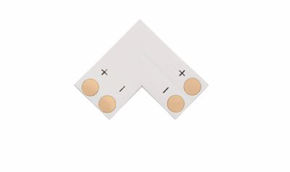
2. Cutting and connection: cut the strip only at the points marked by the cutting line. Connect the power cables to the +/- terminals using clip connectors or by soldering. Check polarity;
3. Mounting: remove the protective film from the double-sided tape on the strip and press firmly onto the surface. For permanent mounting, especially in hot areas or subject to vibrations, apply a drop of hot glue every 20-30 cm.
4. Final test: connect the power supply to the camper's battery (always with the correct terminals: red +, black -) and turn it on. Check that everything works before hiding the cables.
Maintenance and troubleshooting common problems
LEDs have a very long service life (up to 50,000 hours), but require small attentions:
• Problem: a section of the LED strip does not light up. Check the previous cut or connection point: often a contact has come loose. Also check that there is no physical damage to the strip's circuits.
• Problem: lights flicker. Typical causes are an undersized or poor-quality power supply, an incompatible dimmer, or a loose connection. Also make sure the battery voltage is not too low.
• Cleaning: always turn off the lights and disconnect the power before cleaning. Use a soft, dry cloth, or at most slightly dampened with water. Avoid aggressive solvents.
Camper: beyond 2025, what does the future hold?
Looking beyond the horizon of current trade shows, the next frontiers are exciting. There is increasing talk of adaptive biological lighting (Human Centric Lighting - HCL), which automatically modulates light intensity and tone to synchronize with our circadian rhythm, improving well-being and sleep while traveling.
Wireless charging integrated into surfaces (tables, nightstands) powered by micro-LEDs will be another revolution. Finally, the synergy between LED lighting and organic, flexible solar panels will transform the camper's roof into a single, highly efficient source of energy and light, bringing autonomy and comfort to levels unimaginable just a few years ago.
Investing in good LED lighting for your camper is not an expense, but an investment in the quality of your life on the road. It means more autonomy, more atmosphere, more safety, and more beauty. Whether you are planning a complete conversion or a simple upgrade, on Ledpoint.it you will find the technologies, products, and, we hope, the inspiration to light up every kilometer of your adventure.